EZEdge™ Transition Wheelchair Ramps
Description
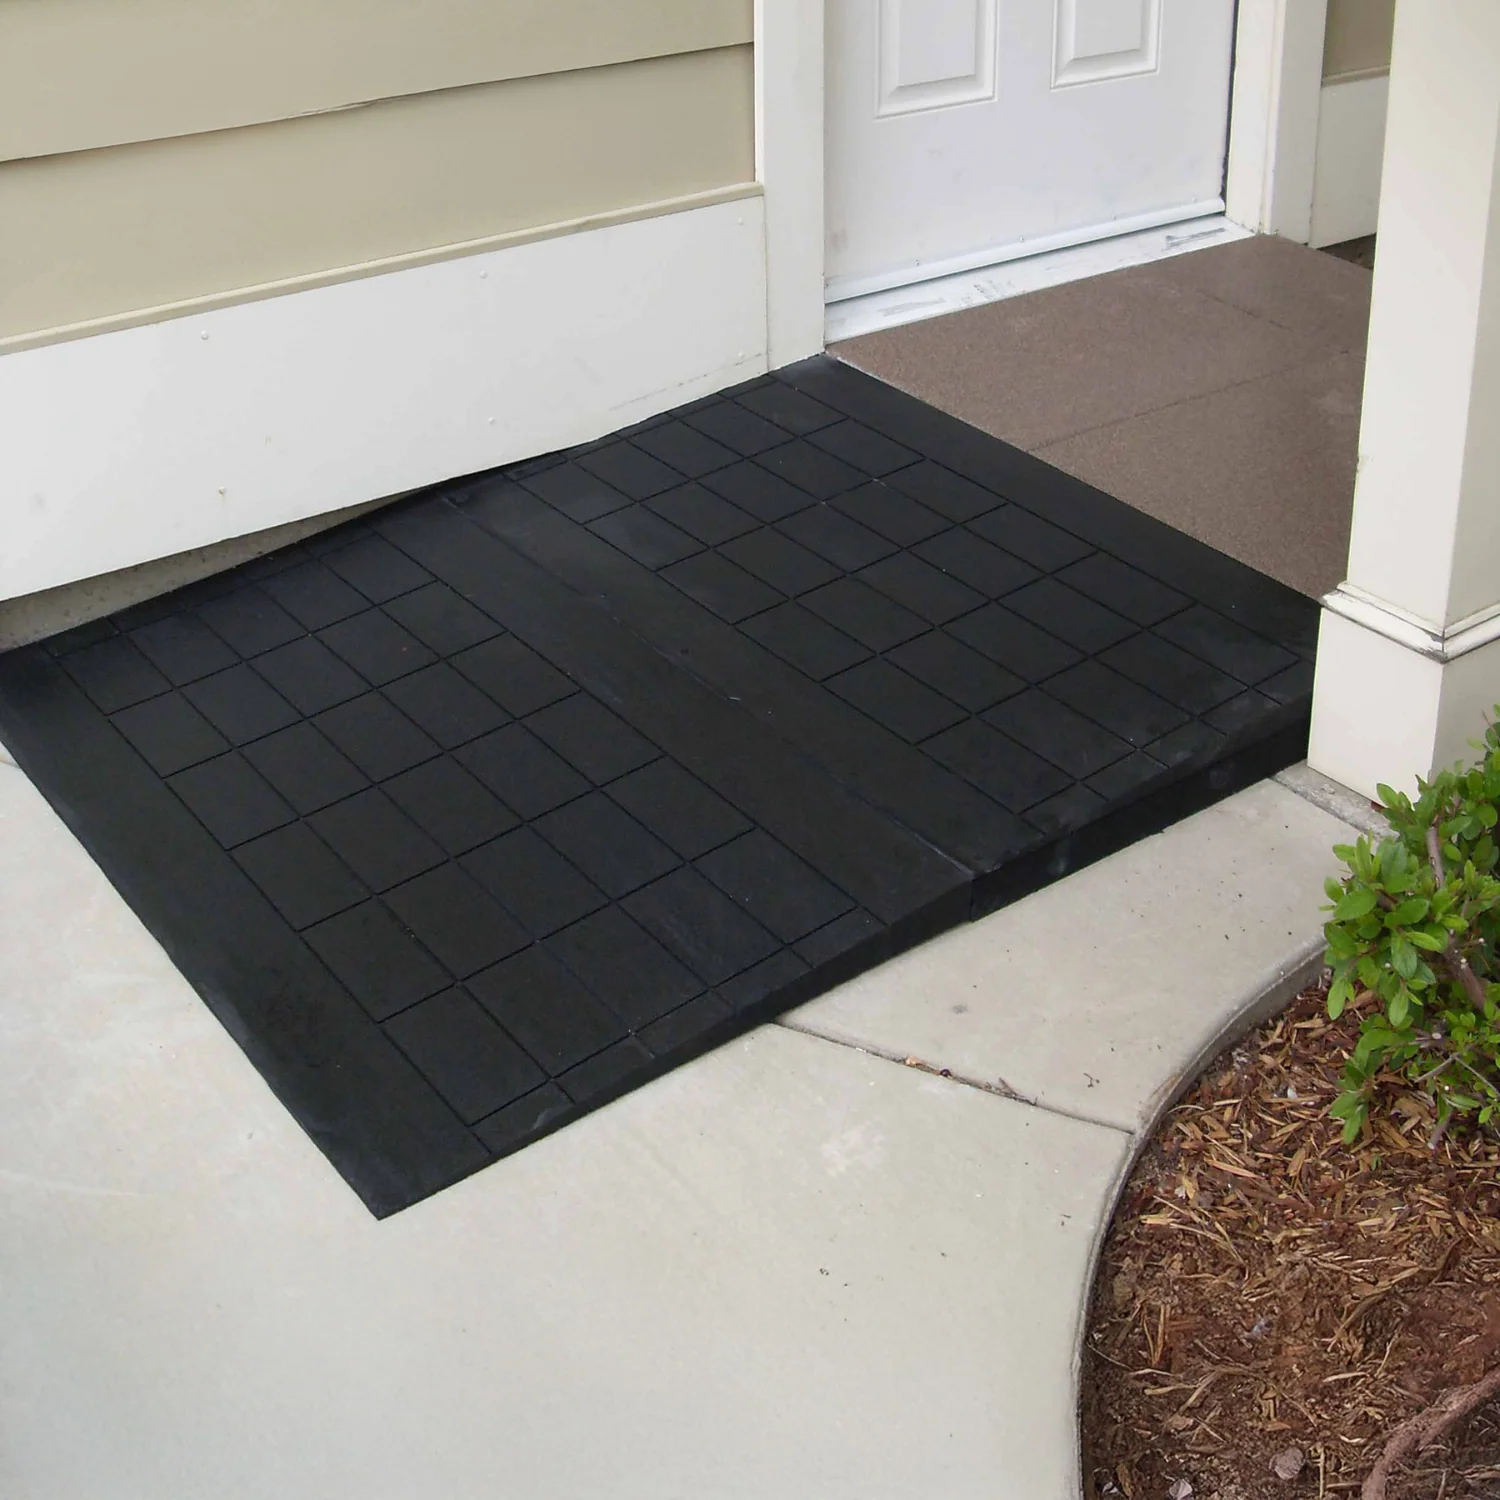
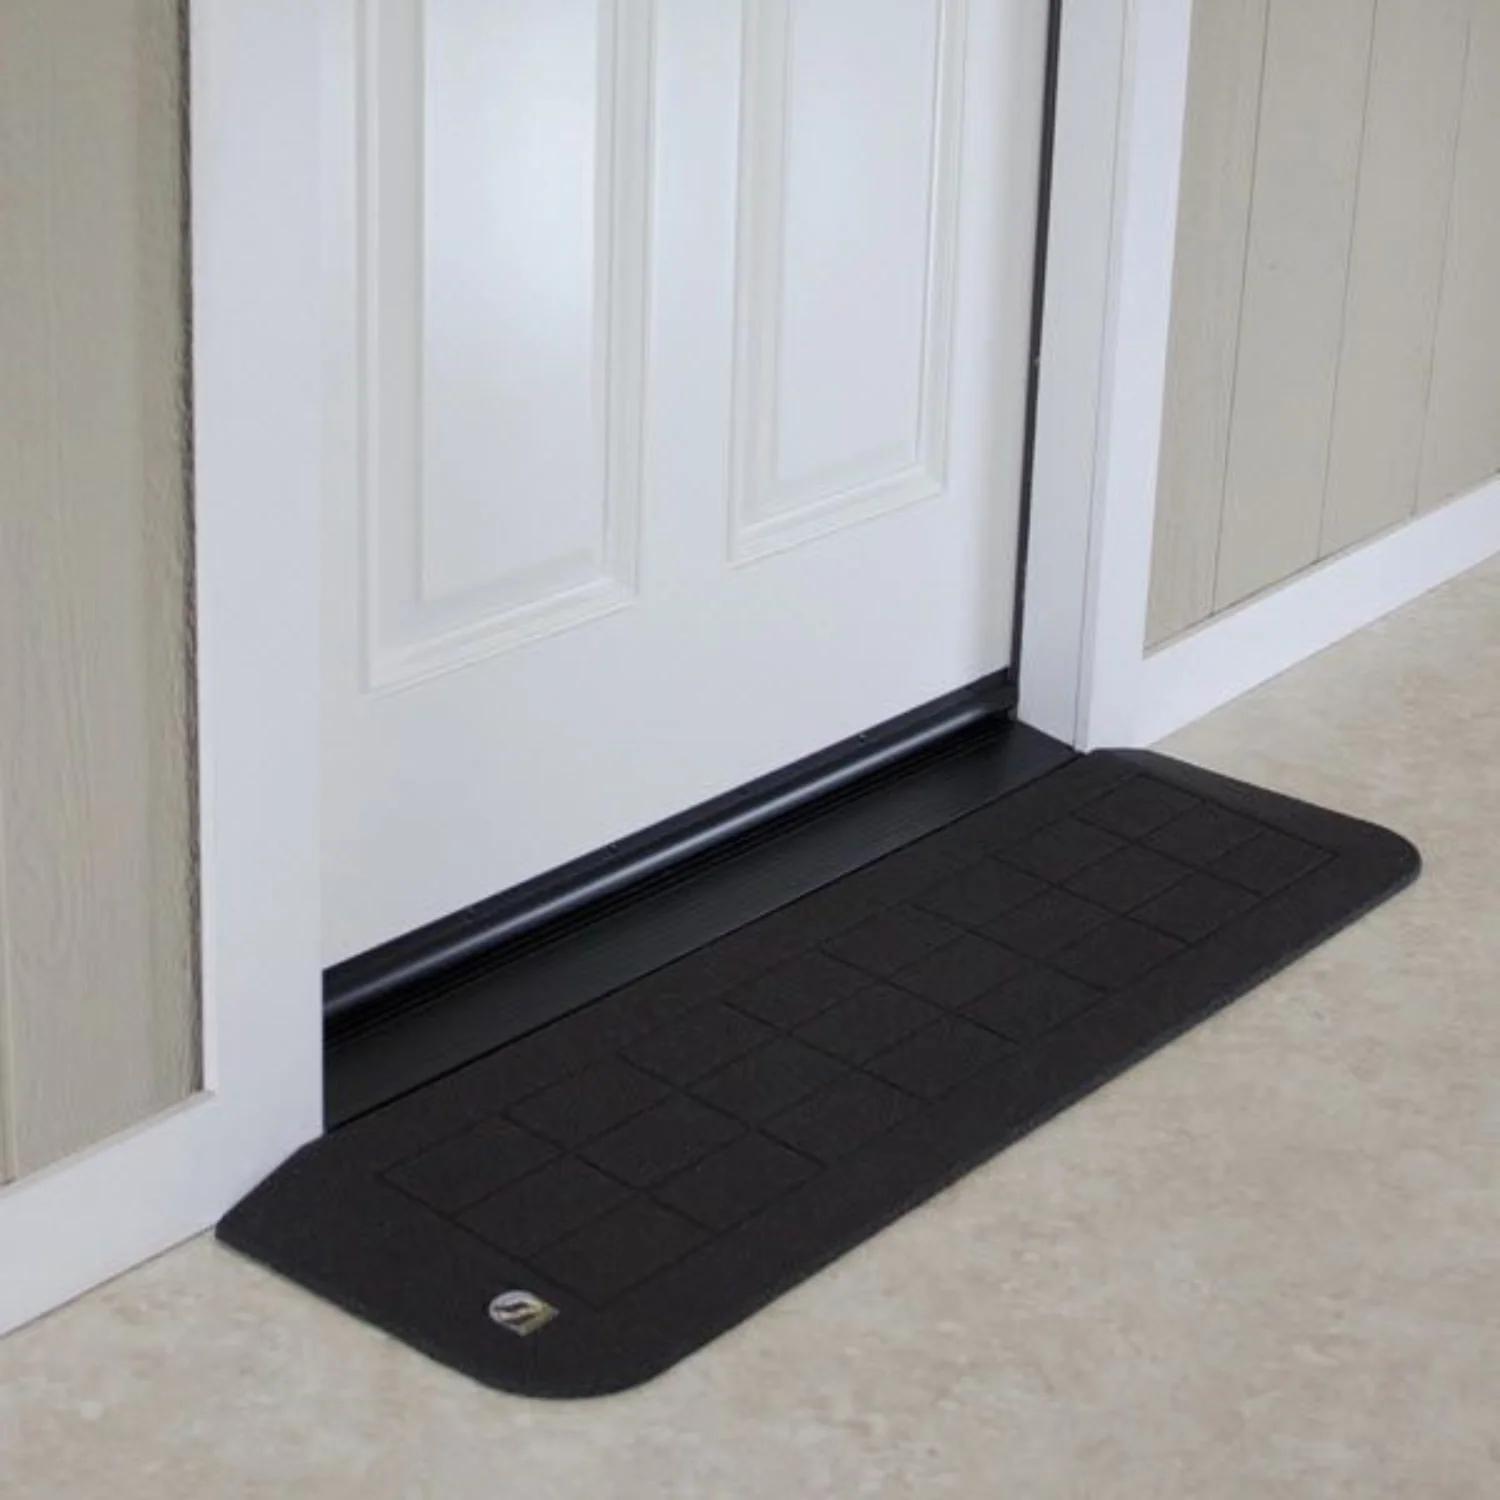
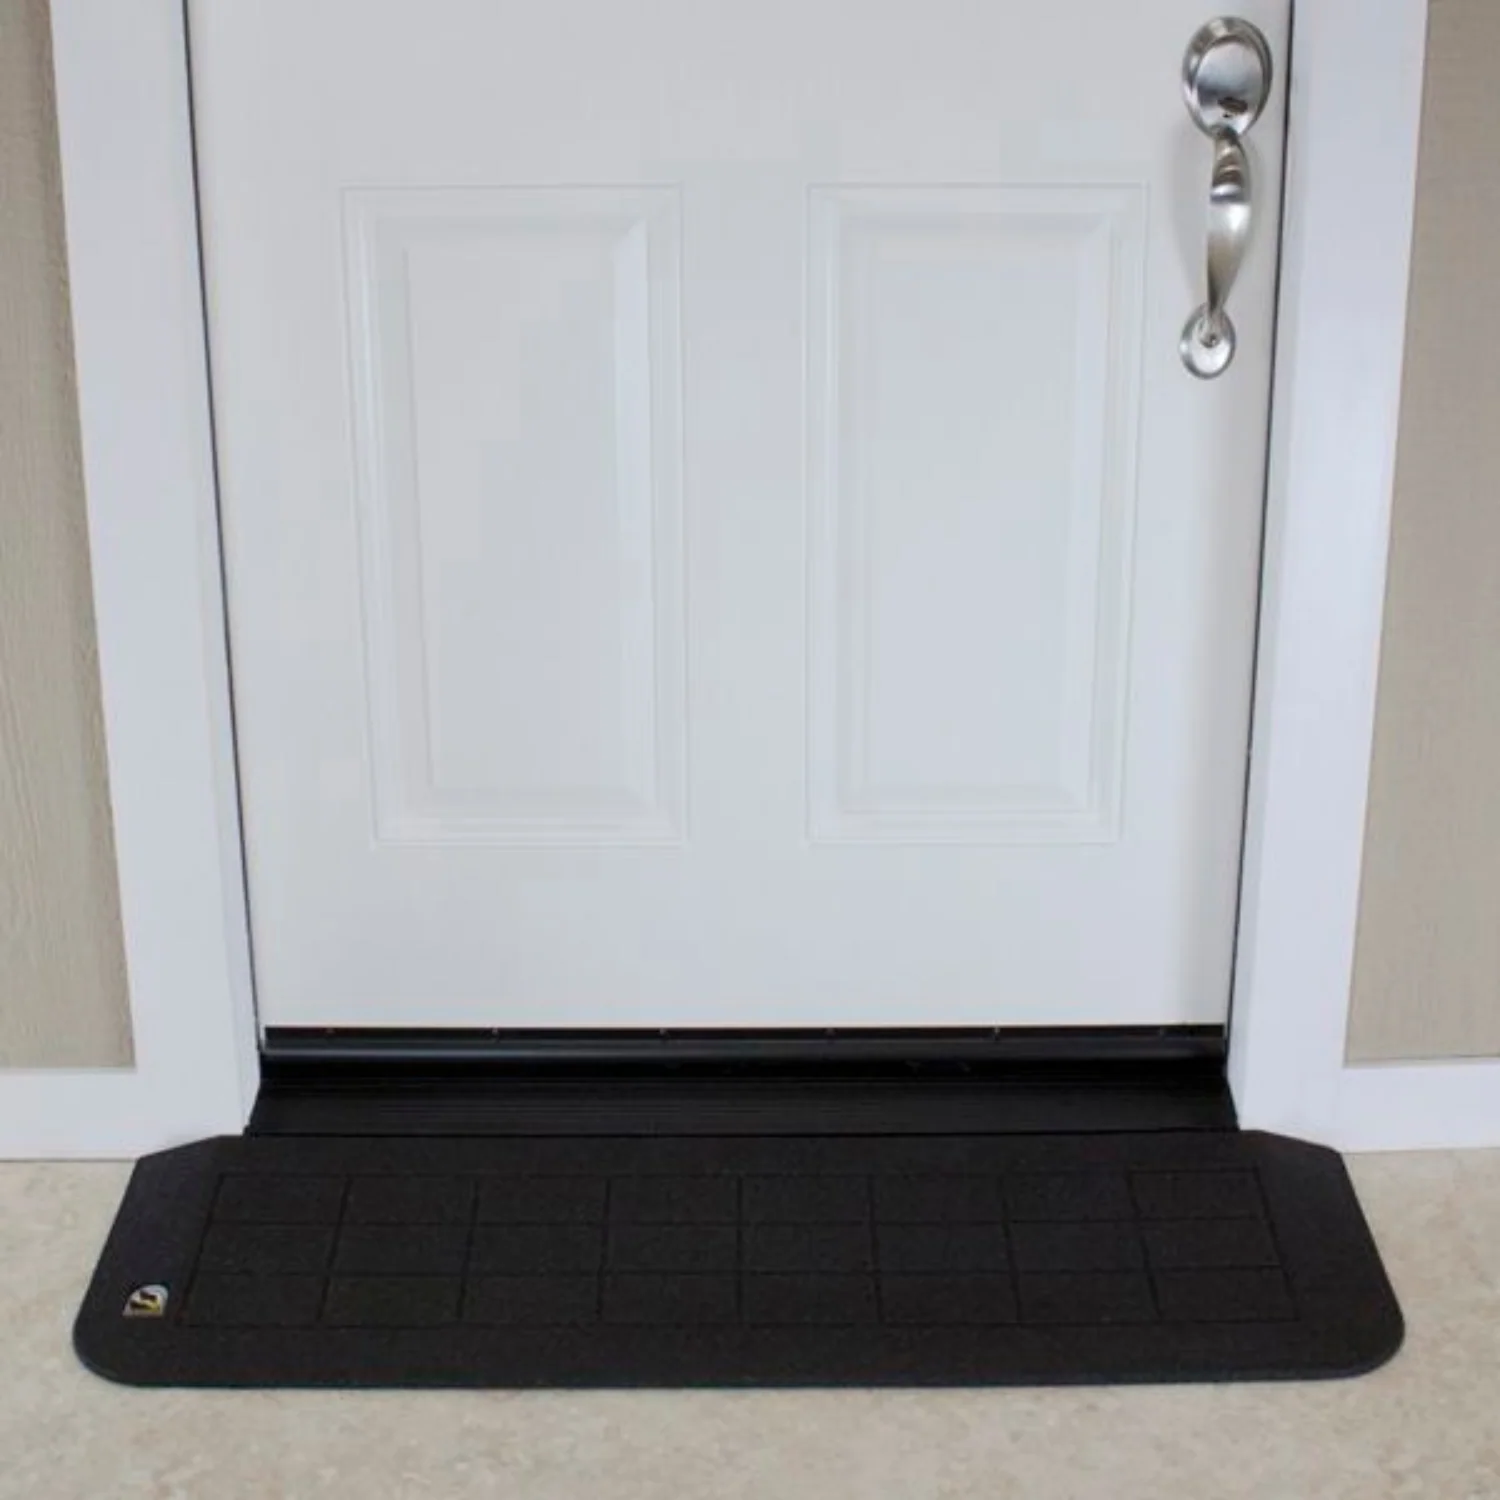
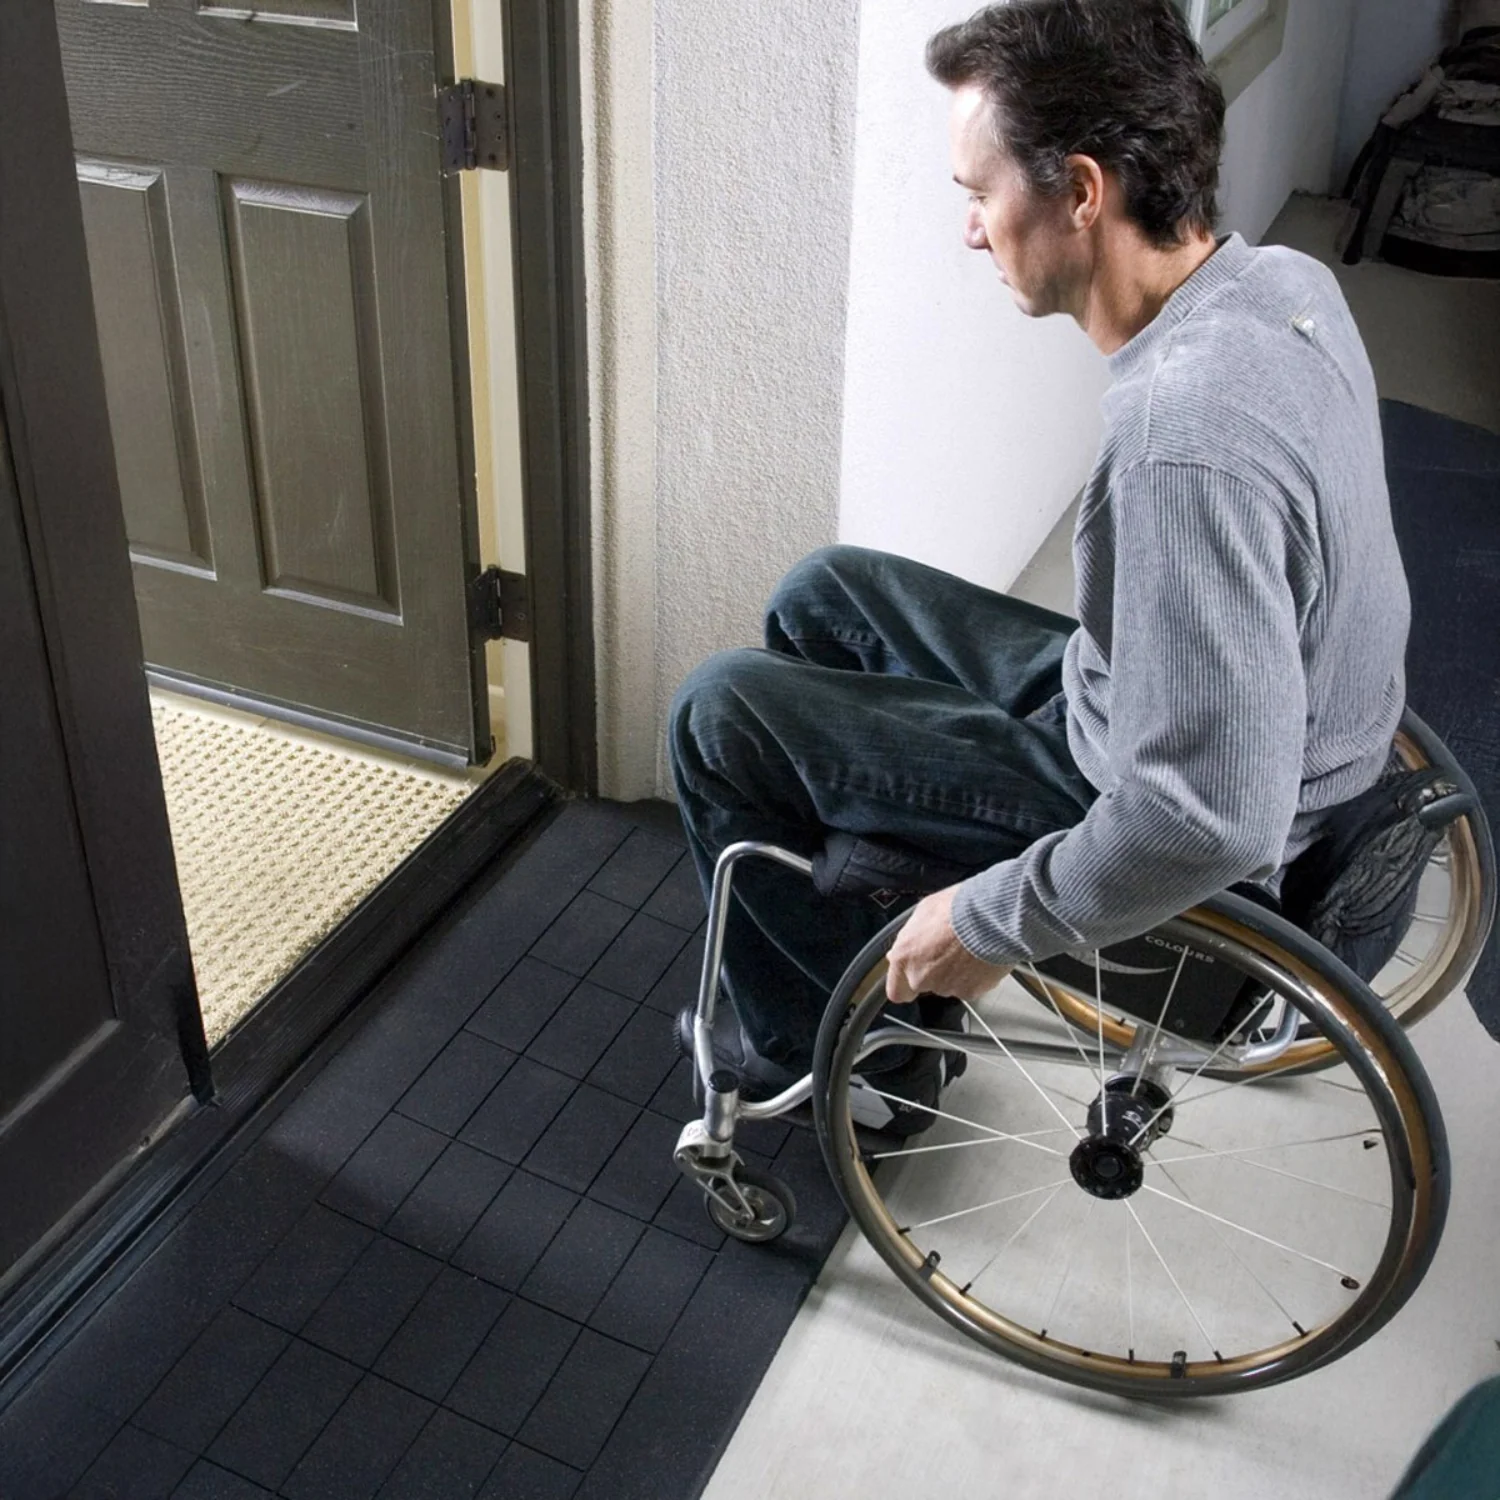
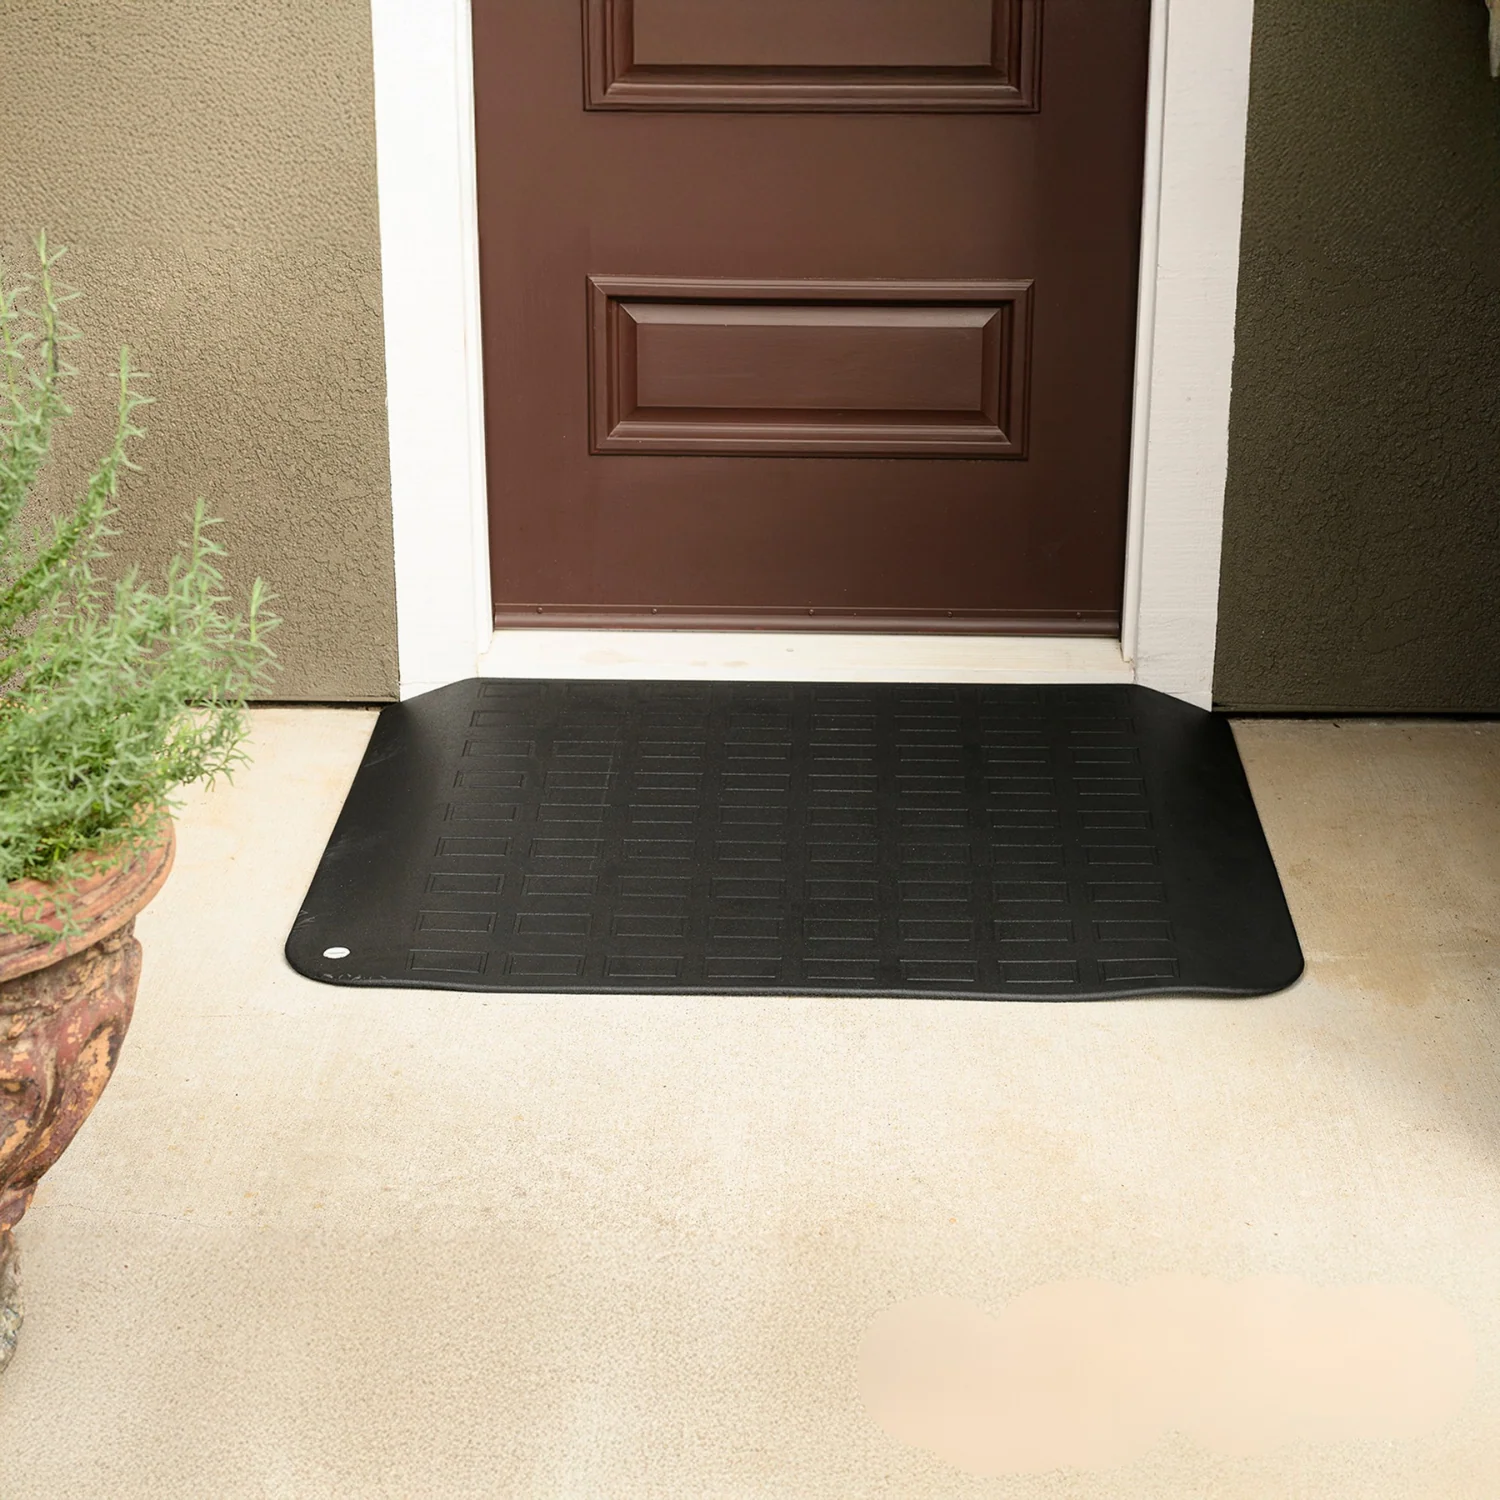
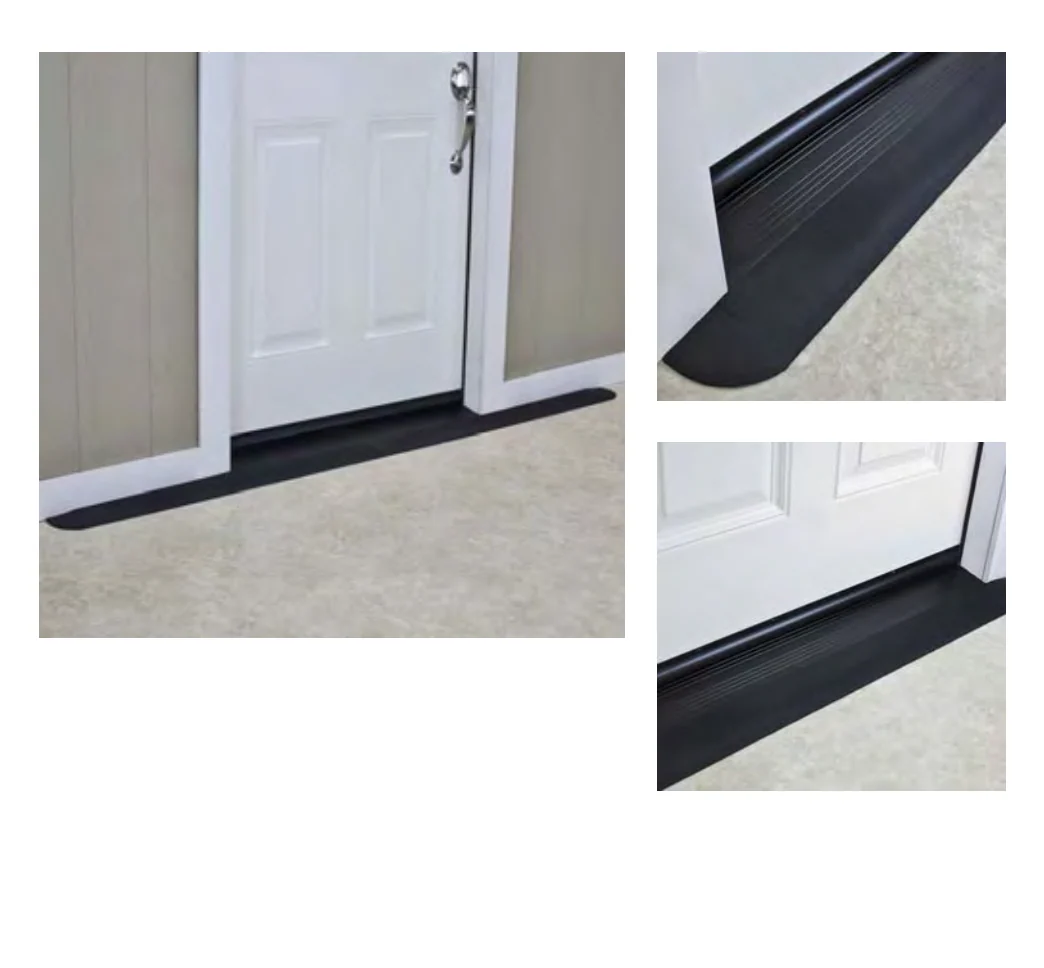
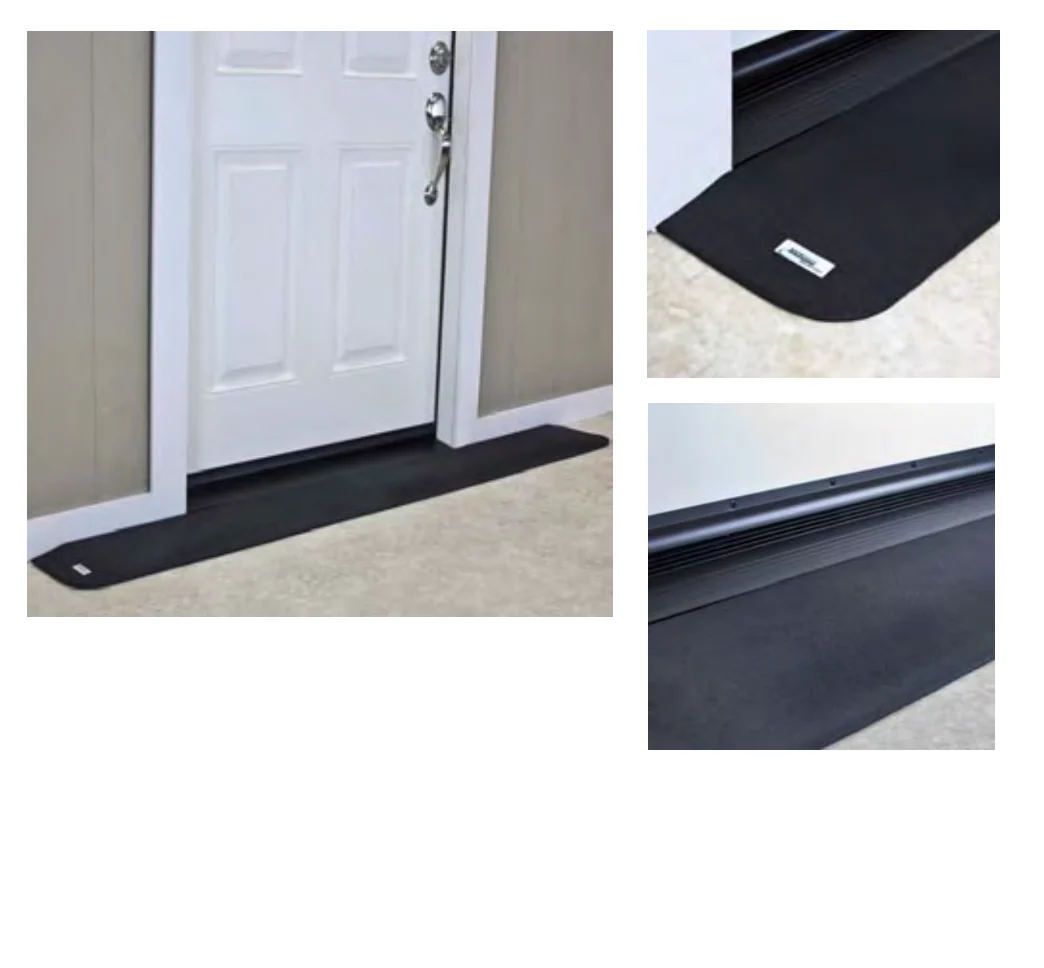
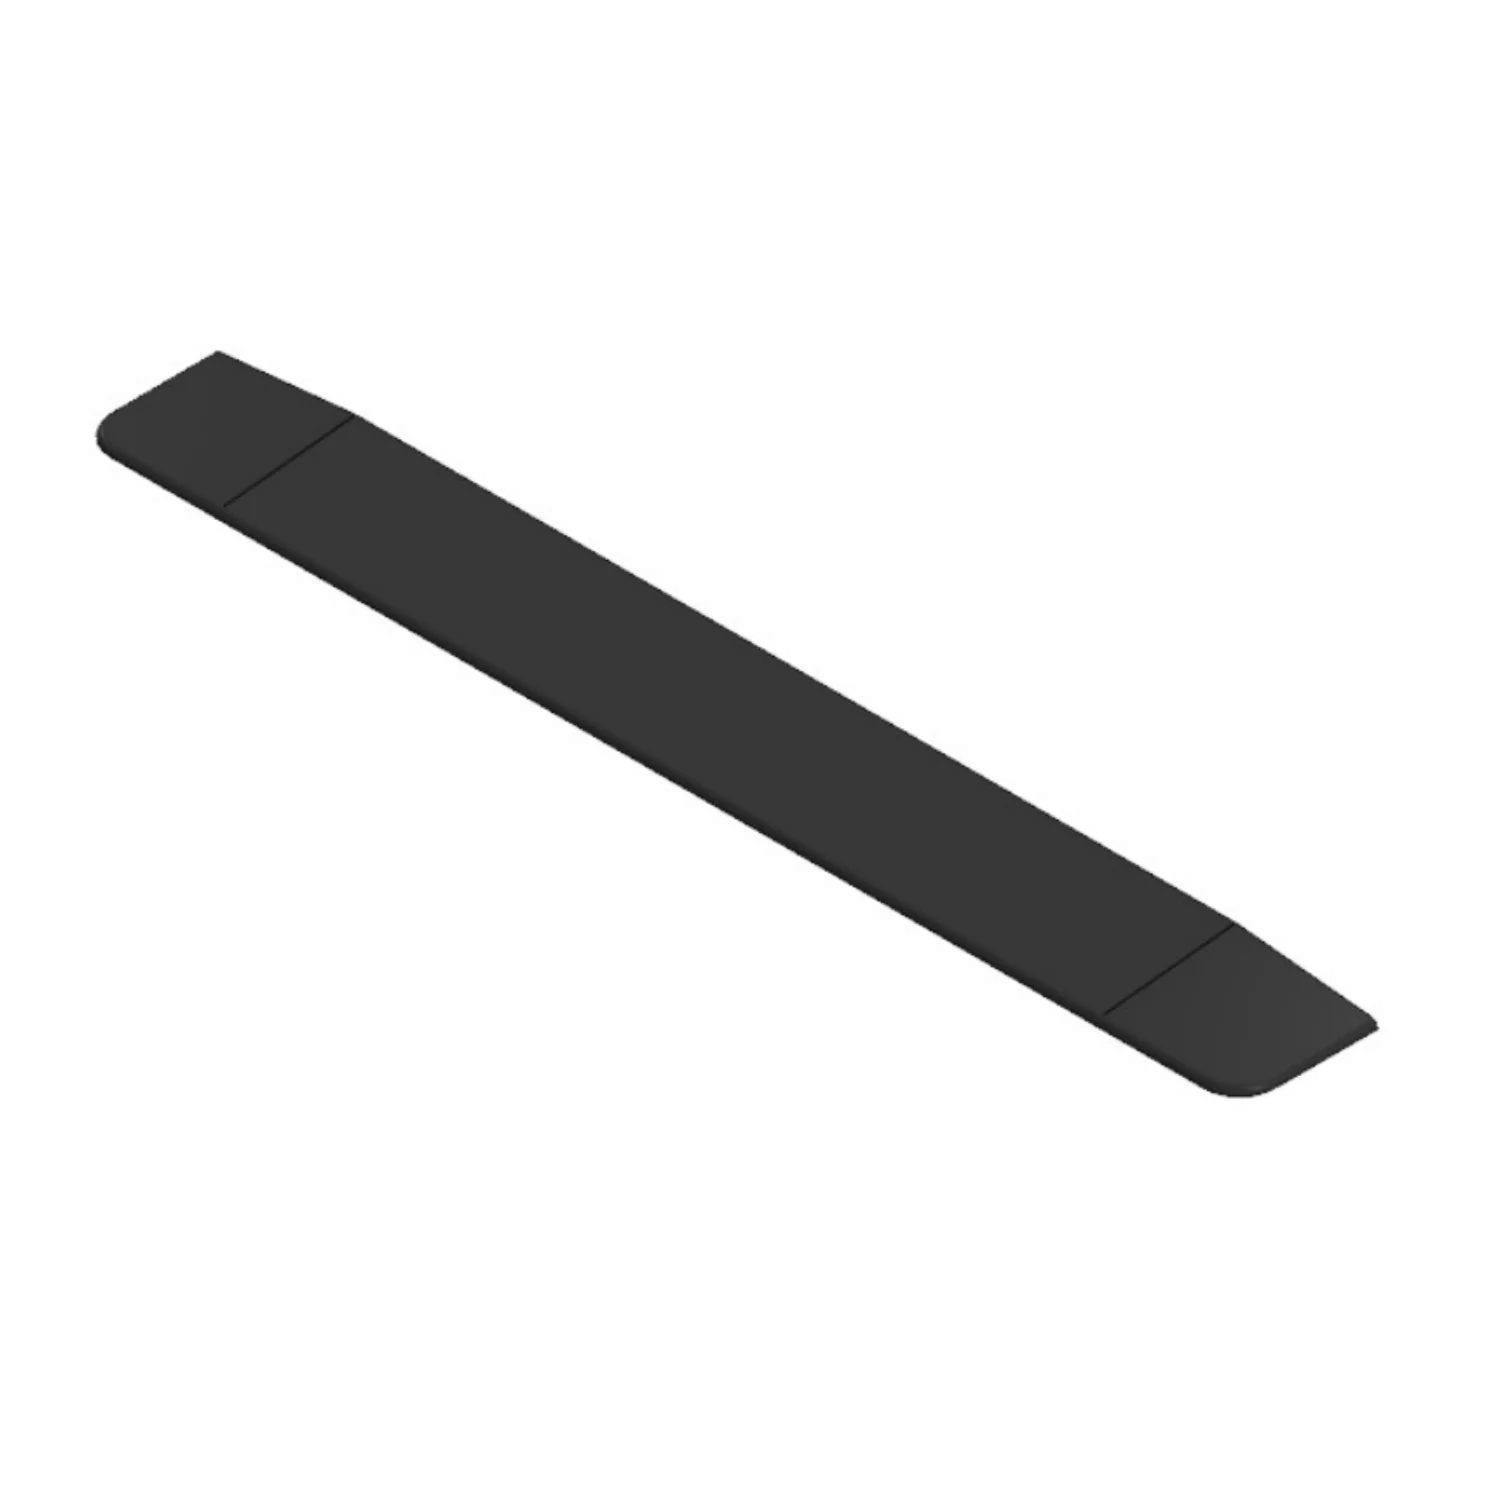
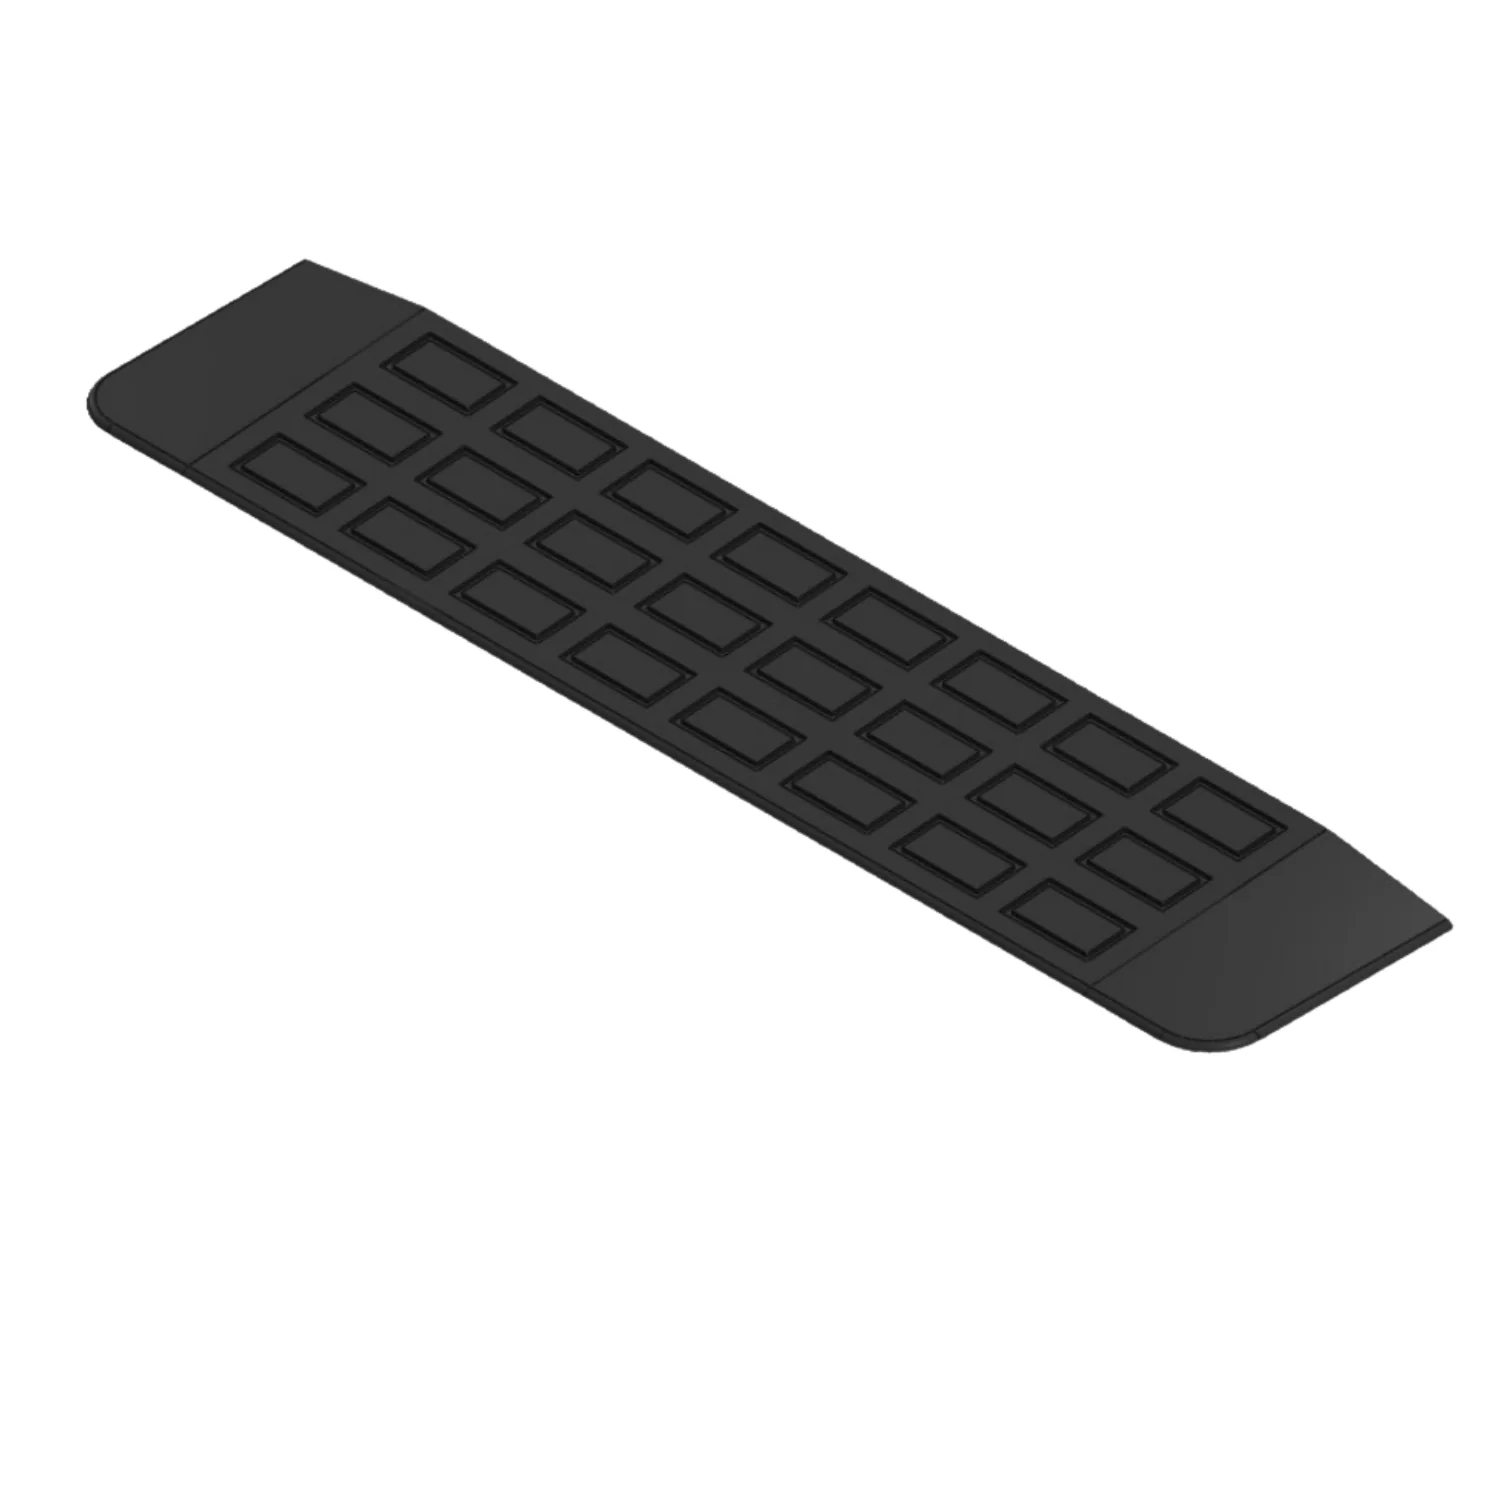
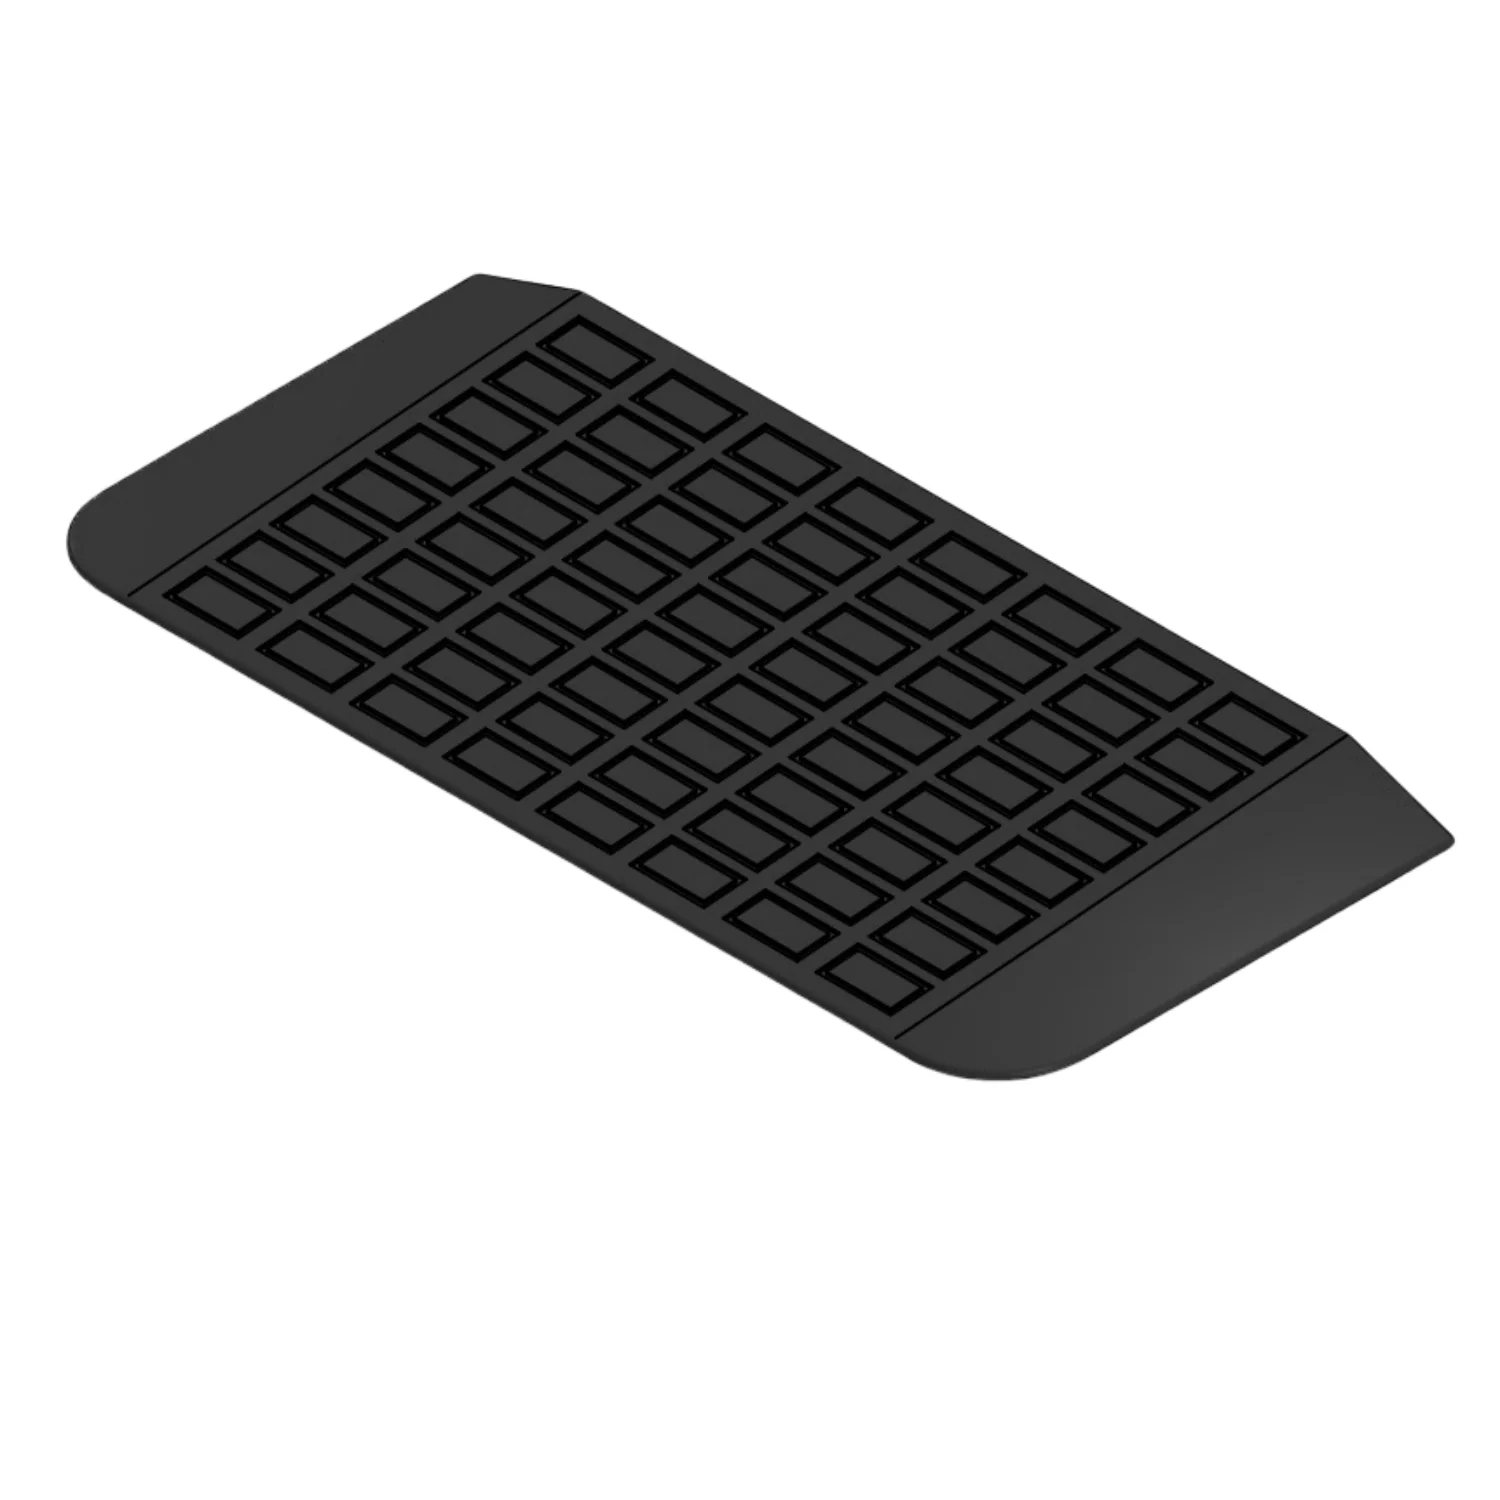
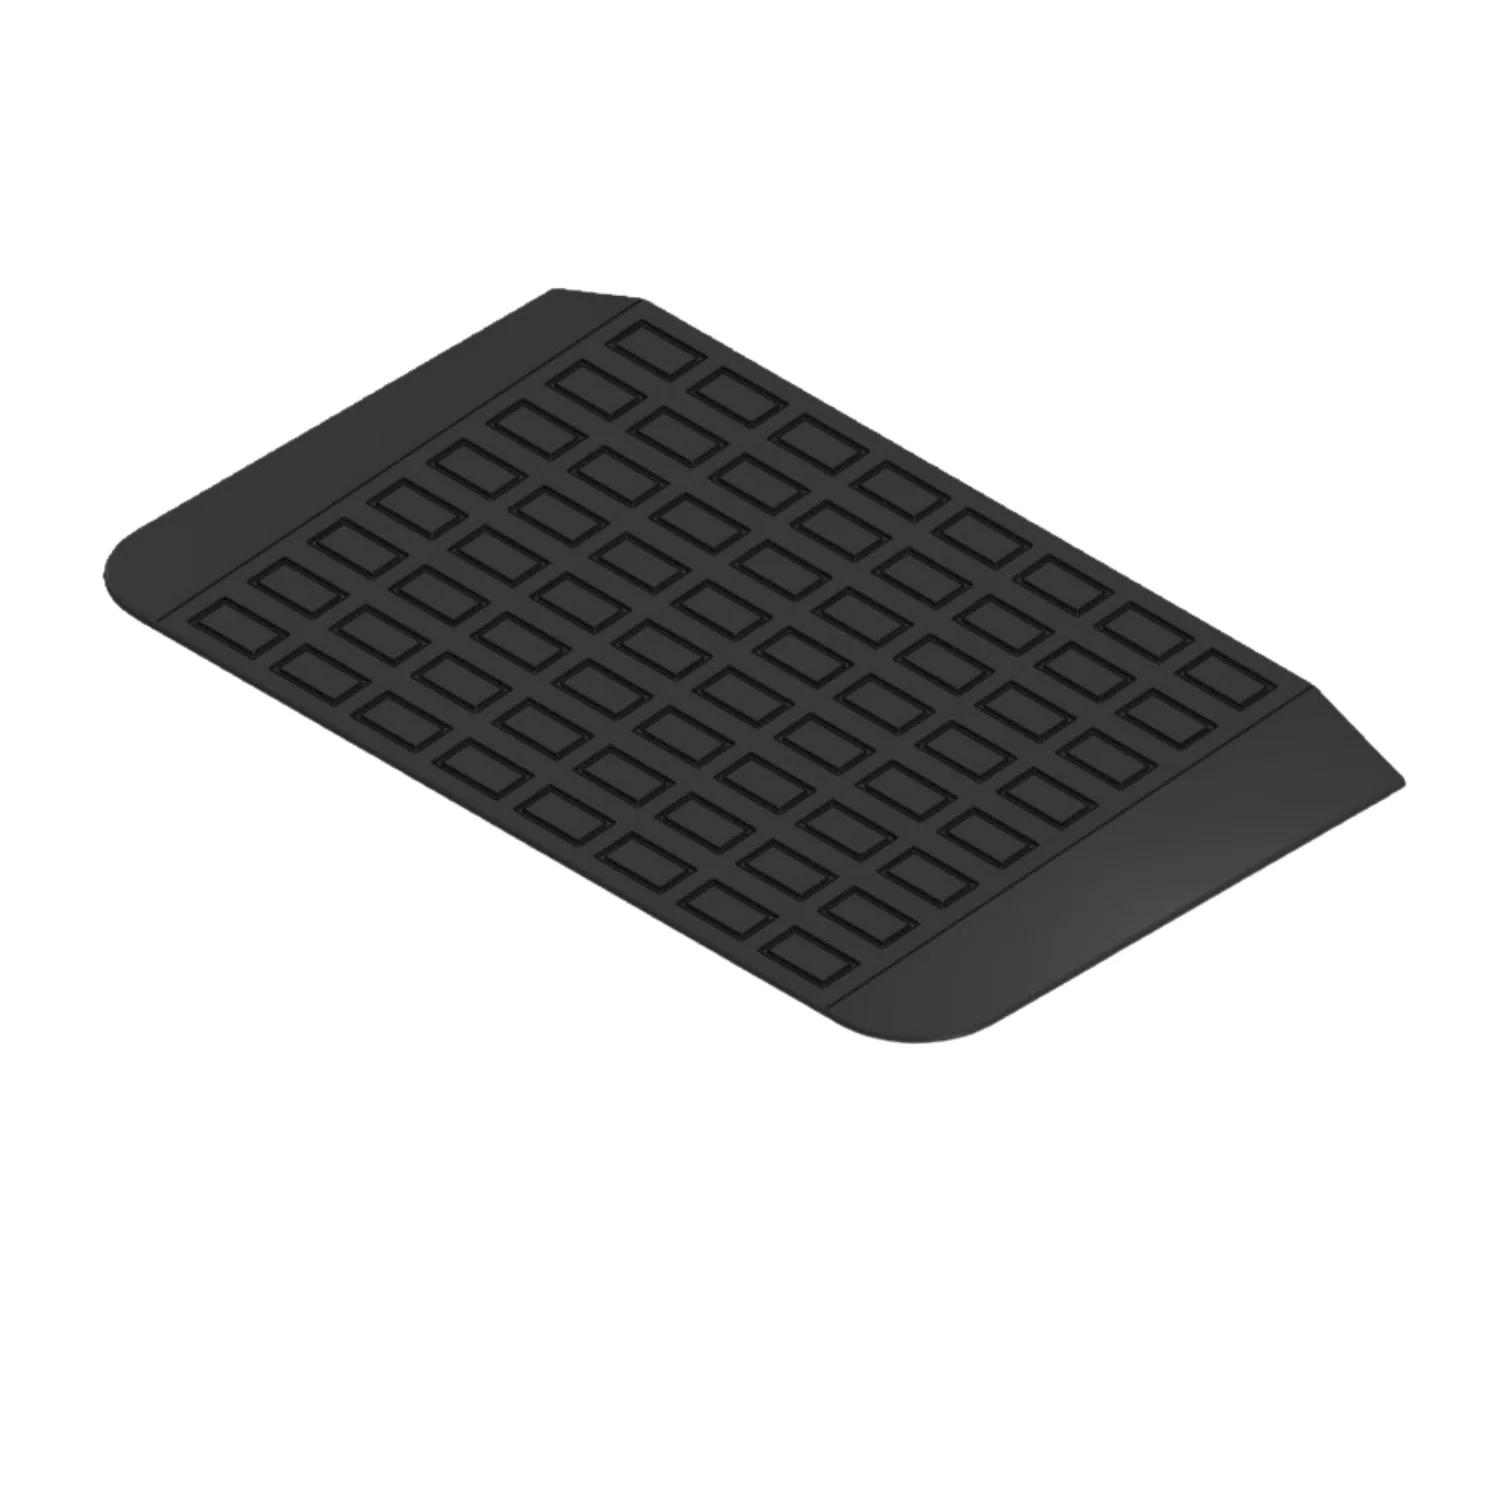
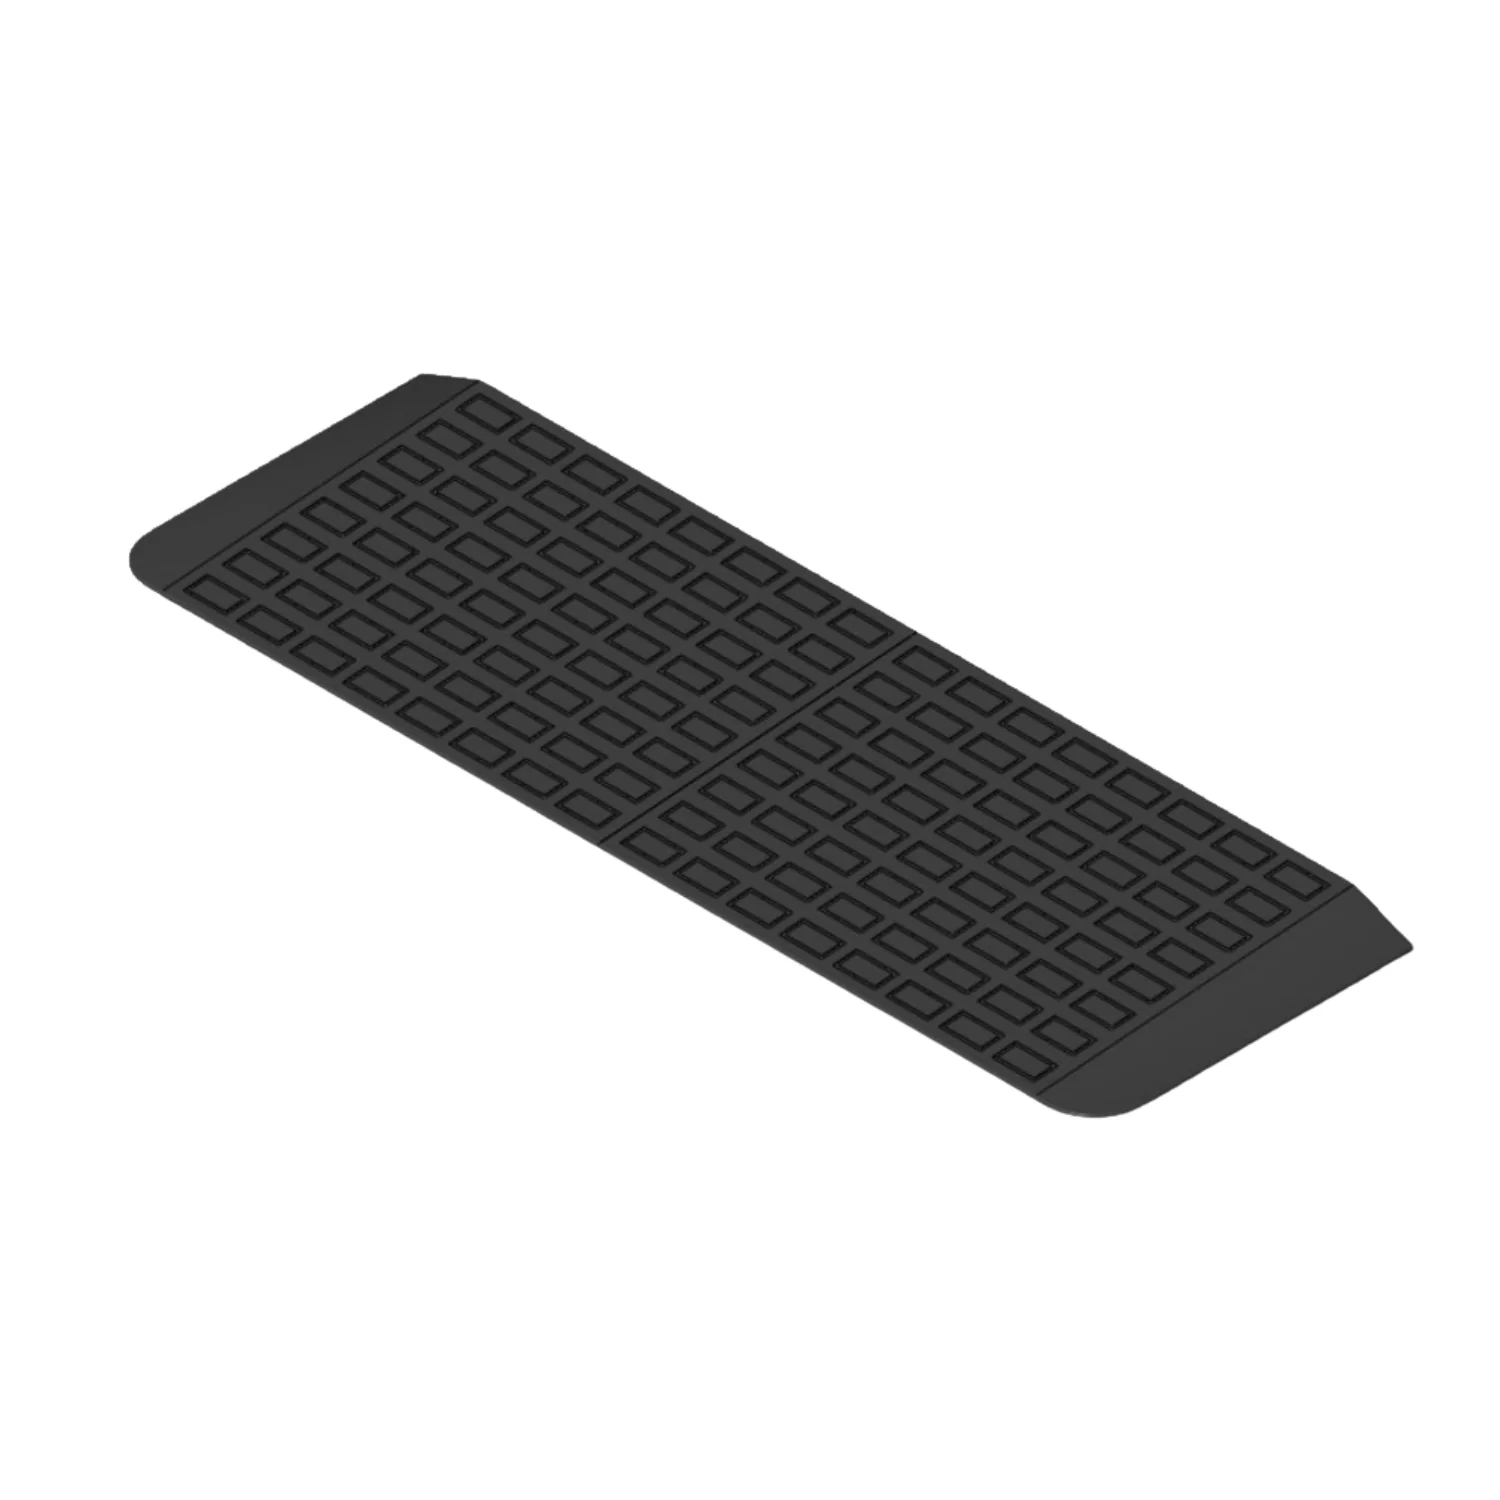
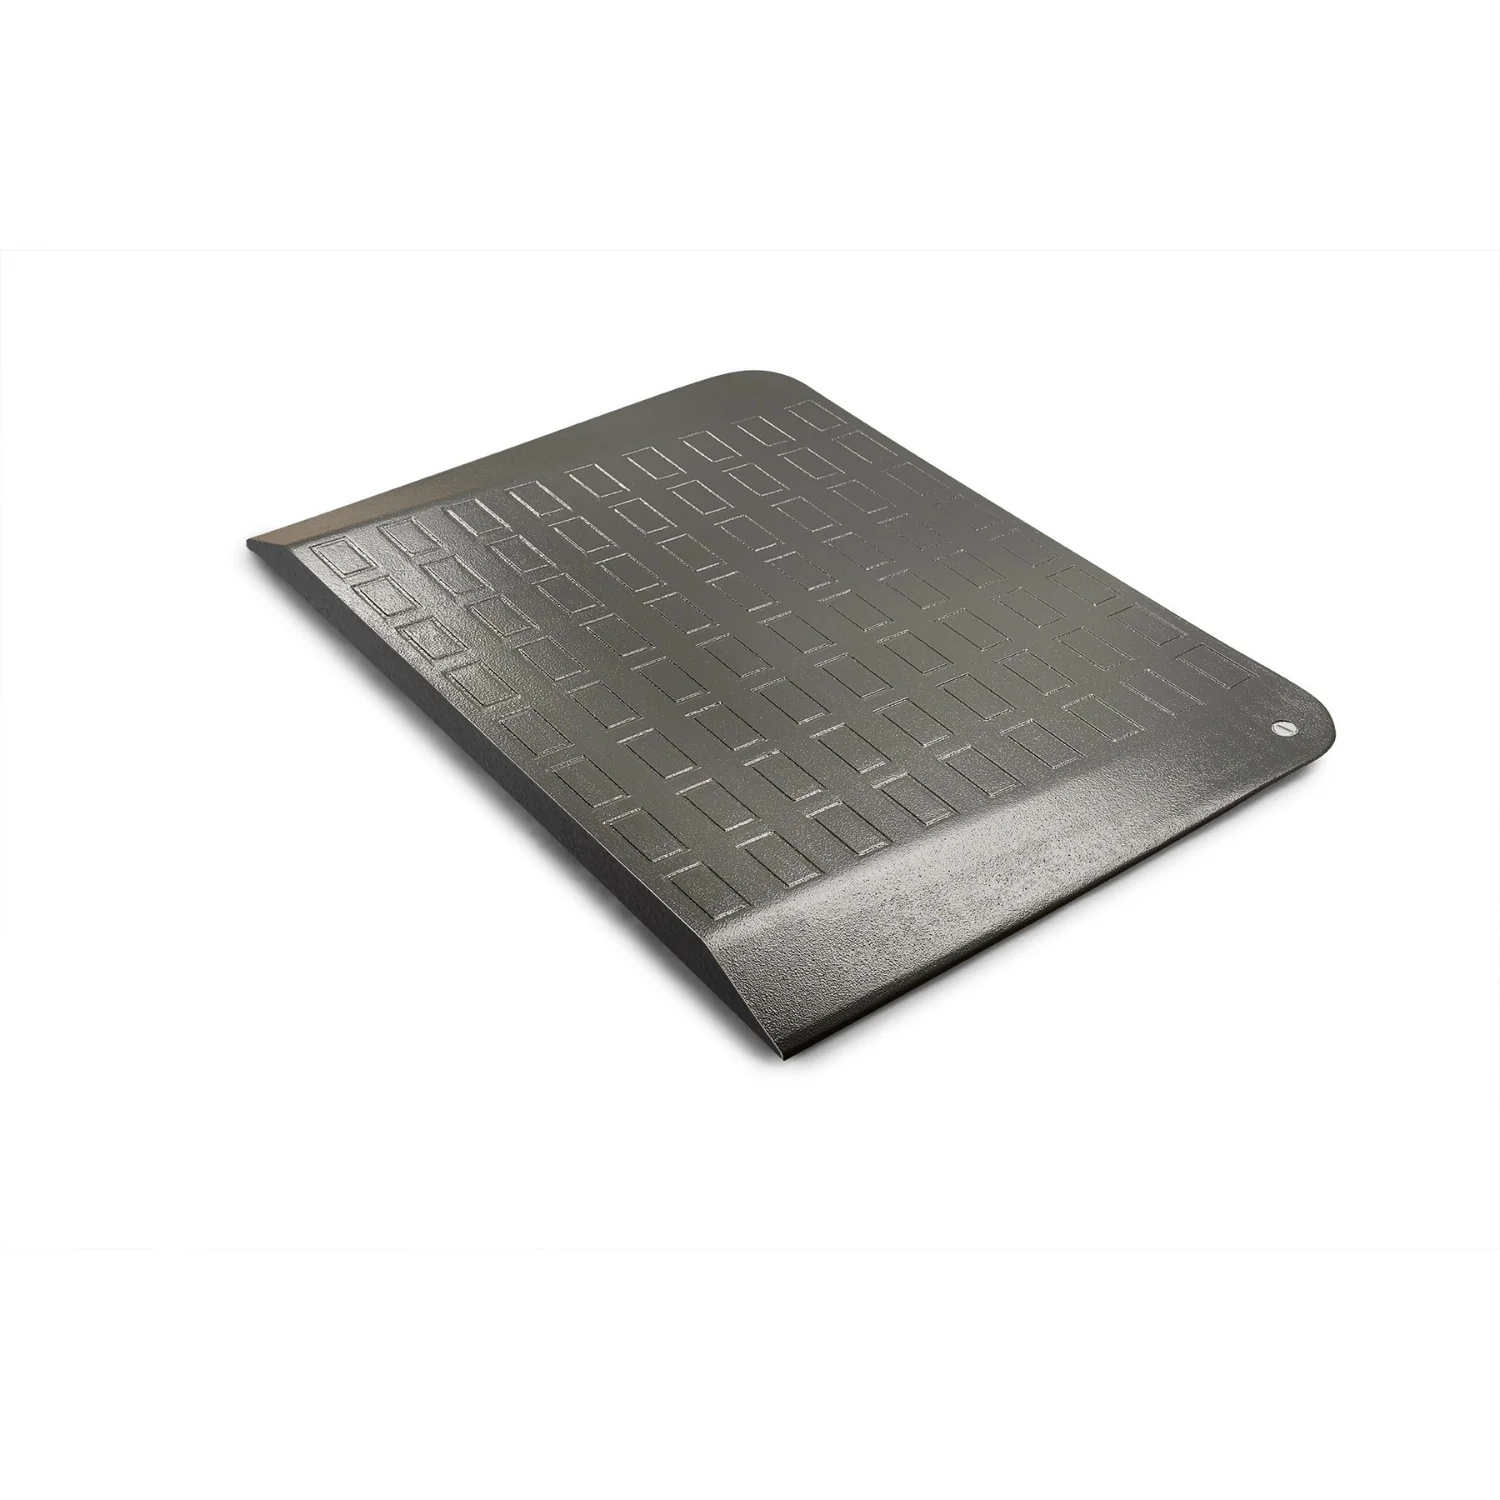
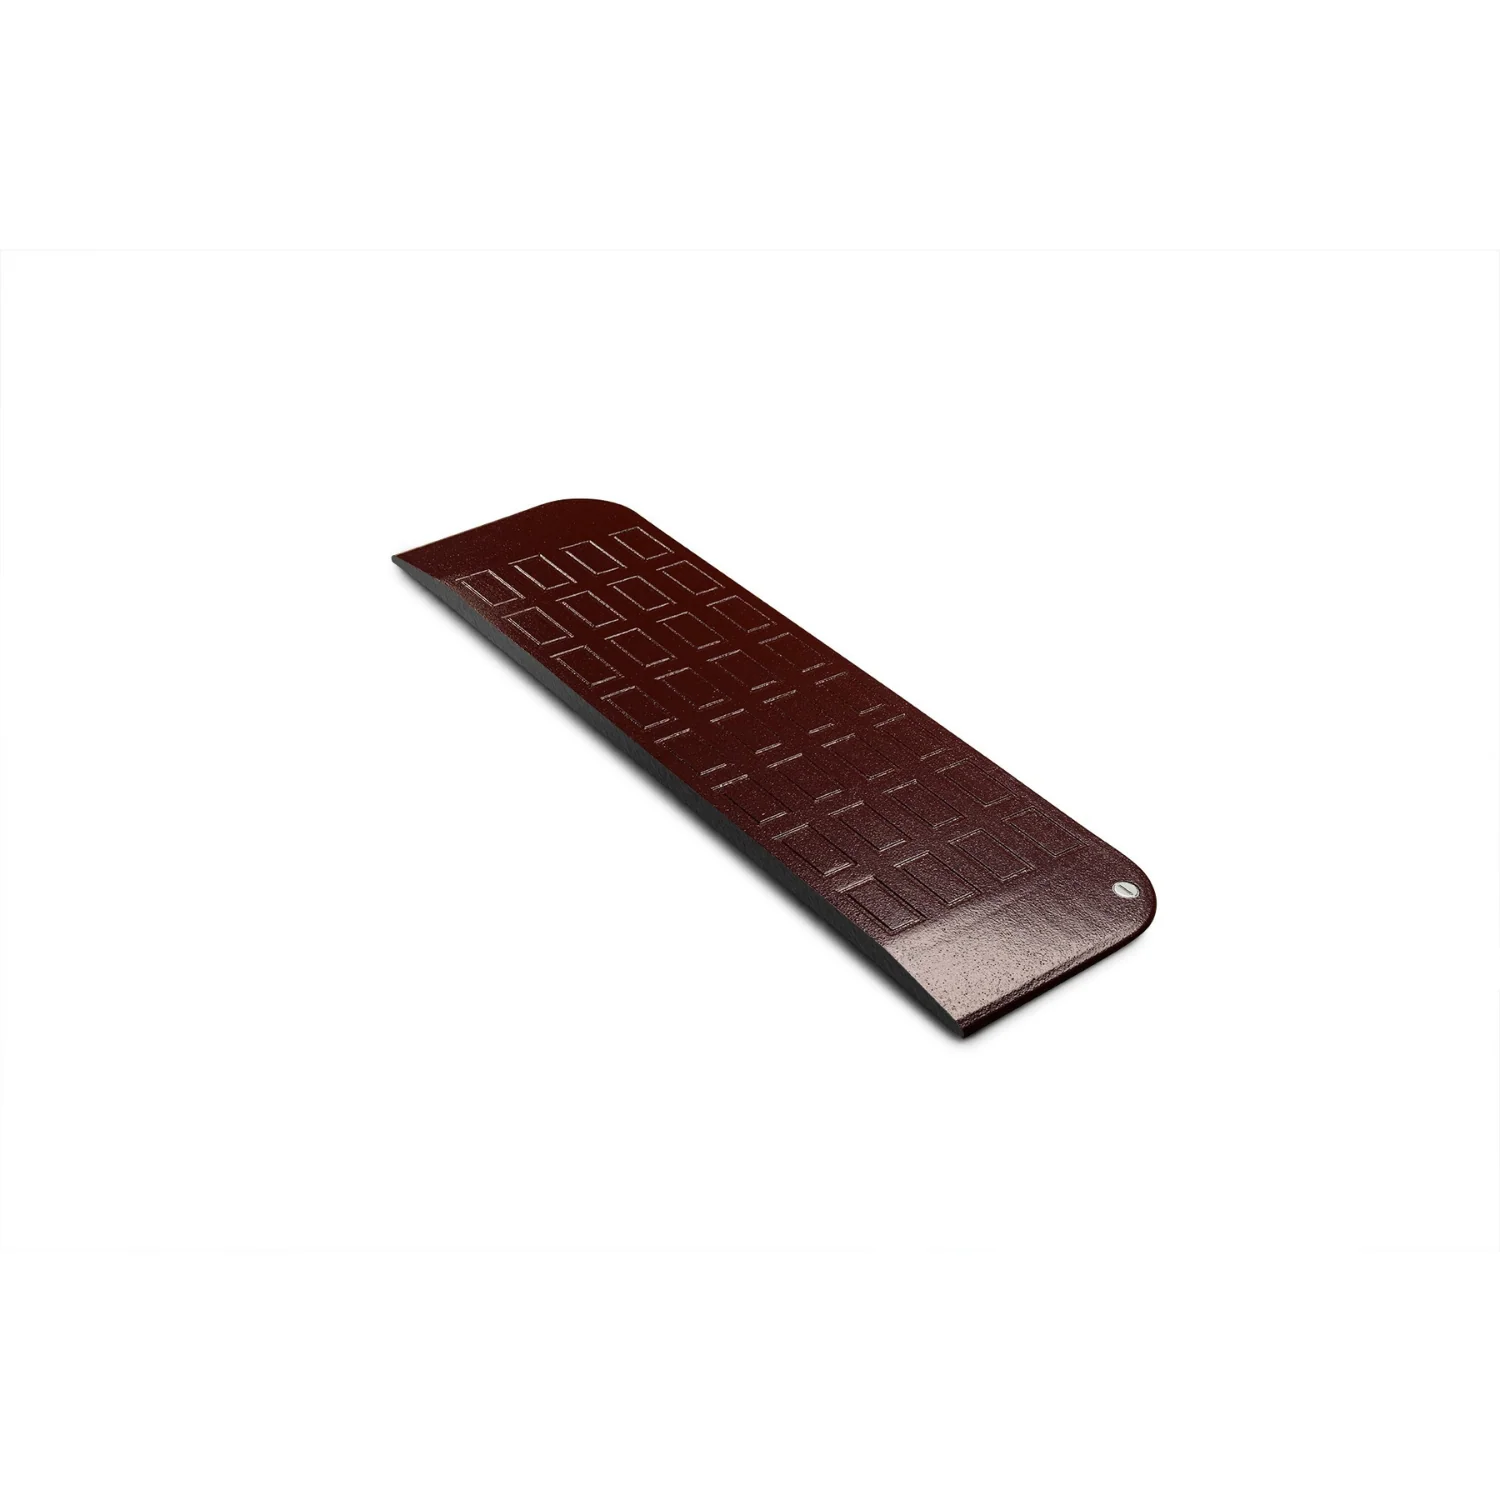
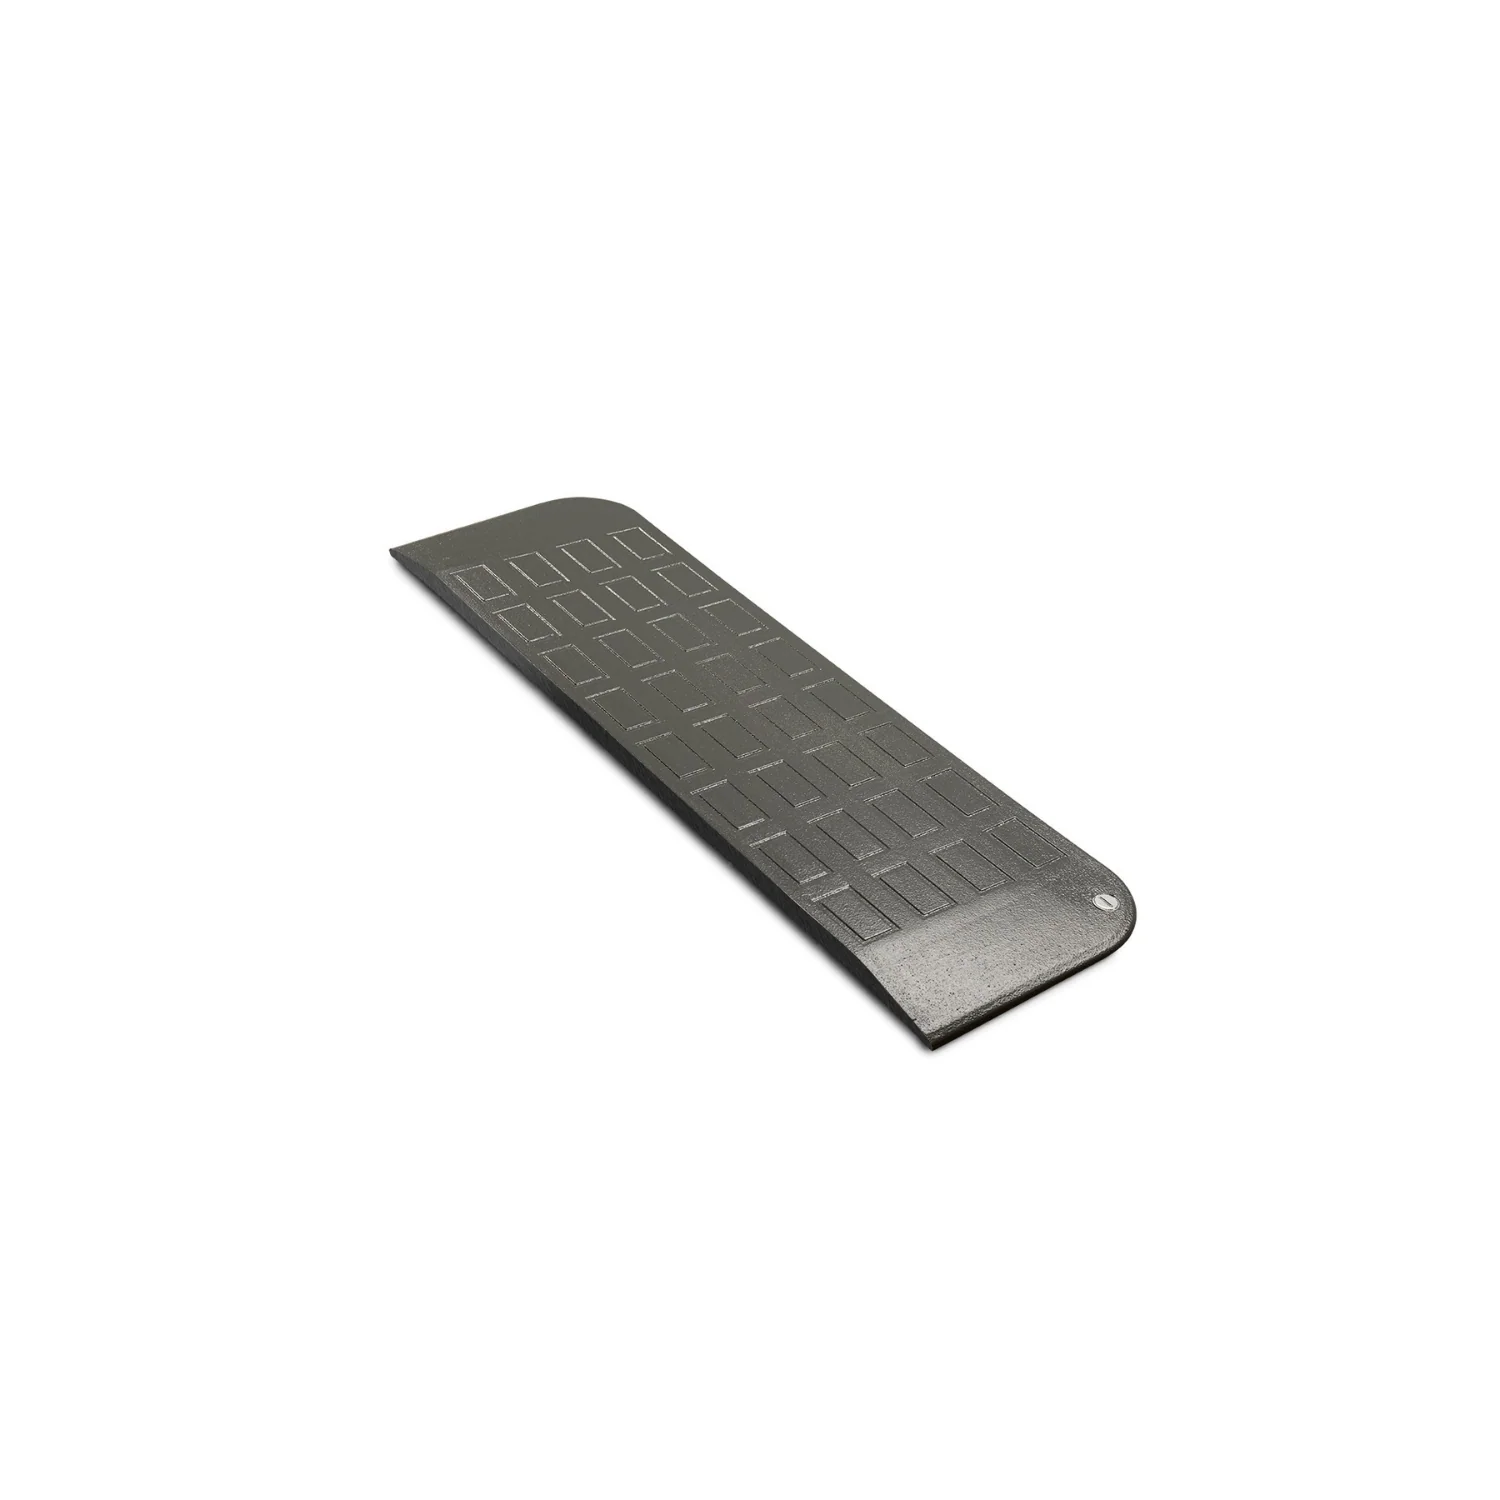
Effortlessly overcome door thresholds and other vertical barriers with EZEdge™ Transition Wheelchair Ramps. Made from 100% recycled rubber, these durable ramps provide a smooth, safe transition for heights ranging from 1/2" to 2 3/4" increments.
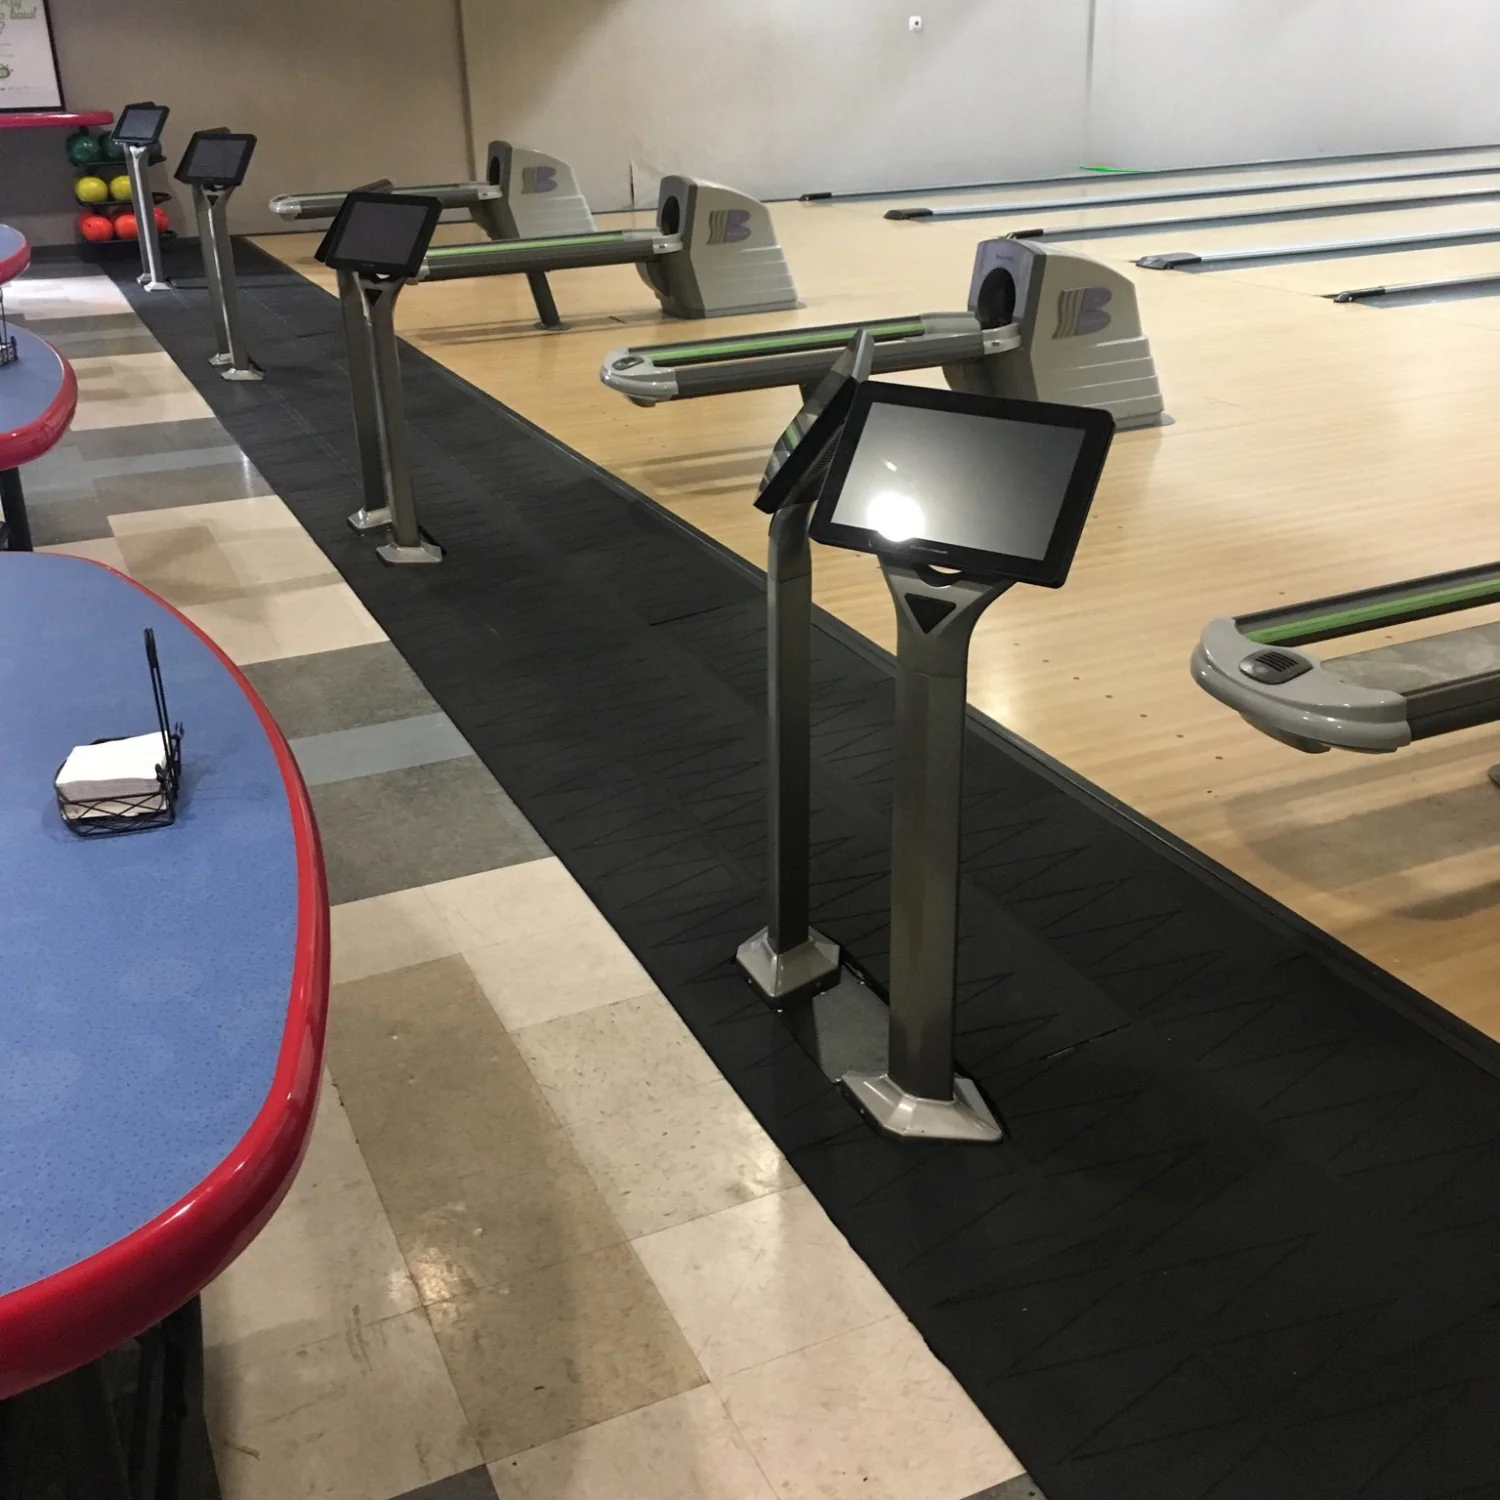
With no weight limitations and a quick, hassle-free installation on various surfaces like concrete, wood, and tile, they’re the perfect solution for residential and commercial access needs. Each ramp comes with a 10-year guarantee, ensuring long-lasting performance and maintenance-free use.
*Note: The 10-year warranty only applies for our standard black ramps and not the coated/colored ramps.
Specifications
| Performance Standard | Test Method | Result |
|---|---|---|
| Tensile Elasticity | ASTM D 412 | 630 psi |
| Compression Test | ASTM D 395-82 | 7.84% |
| Hardness (Shore A) | ASTM D 2240 | 65 |
| Water Absorption | ASTM C 1026-84 | 0.75% |
| Density | — | 1.01 g/cm³ |
| Load Weight Limitations | — | None (when properly installed) |
| Static Coefficient of Friction (SCOF) | ASTM C 1028-96 (Dry) | 0.95 |
| ASTM C 1028-96 (Wet) | 0.79 | |
| Additional SCOF Materials | ASTM C 1028-96 (Dry Leather) | 0.79 |
| ASTM C 1028-96 (Wet - 4S Rubber) | 0.82 | |
| Surface Safety Testing | Fixed-Angle Ramp-Walking & Surface Roughness | Exceeded all recognized standards |
Installation Instructions
Important: Ensure the substrate is clean, dry, and free of debris before starting to guarantee maximum adhesion.
Installation Steps
-
Prepare the Surface
- Clean the substrate thoroughly, removing all dust, dirt, and moisture.
- Clean the substrate thoroughly, removing all dust, dirt, and moisture.
-
Position the Ramp
- Dry fit the ramp by placing it flush against the threshold to ensure a proper fit.
- Dry fit the ramp by placing it flush against the threshold to ensure a proper fit.
-
Mark the Placement
- Use painter’s tape to outline the ramp’s position on the substrate.
- Use painter’s tape to outline the ramp’s position on the substrate.
-
Apply Adhesive
- Remove the ramp and generously apply adhesive to the marked area.
-
Recommended adhesive: SikaFlex 1a (for best results, use a caulking gun and spread the adhesive evenly with a notched cement/grout hand trowel).
-
Secure the Ramp
- Place the ramp back onto the adhesive and press it down firmly and evenly.
- Place the ramp back onto the adhesive and press it down firmly and evenly.
-
Final Adjustments
- Apply consistent pressure to ensure full contact. Some adhesive may leak onto the tape.
- Carefully remove the painter’s tape after the ramp is in place.
-
Clean Excess Adhesive
- Wipe away any adhesive residue immediately using acetone or paint thinner.
Temporary Installation (Non-Permanent)
If you prefer not to permanently adhere the ramp, you may use:
- Silicone-based temporary adhesive
- Commercial-grade double-stick tape
Cutting & Trimming Instructions
- Recommended Method: Use a utility knife for the cleanest and safest cuts.
- Optional Method: A variable-speed jigsaw with an aggressive kerfed wood blade can be used for some applications. Cut at a slow speed to avoid overheating and kickback.
Warning: Do NOT use a power circular saw to cut EZEdge™ ramps.
Note: Excess adhesive can stain clothing, shoes, and carpet—clean any spills immediately.
Product Information
Product Information
Shipping & Returns
Shipping & Returns






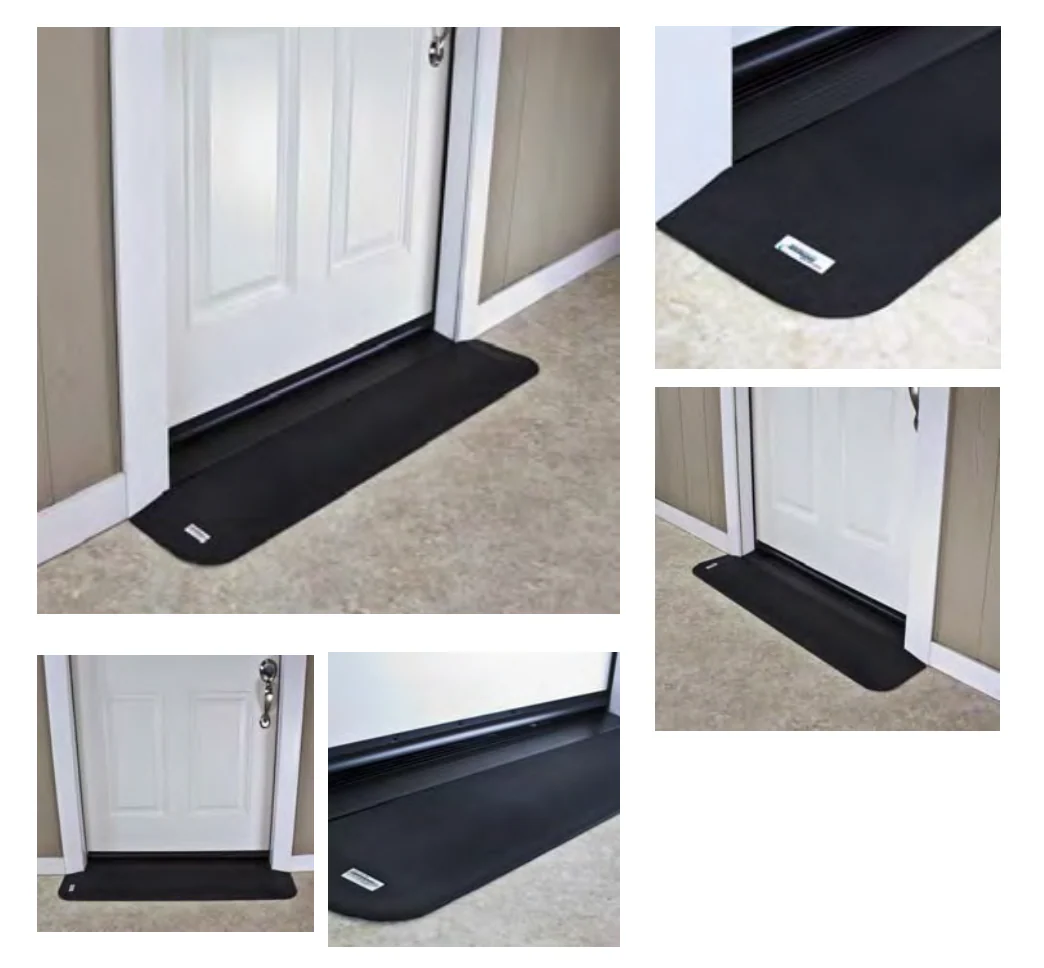


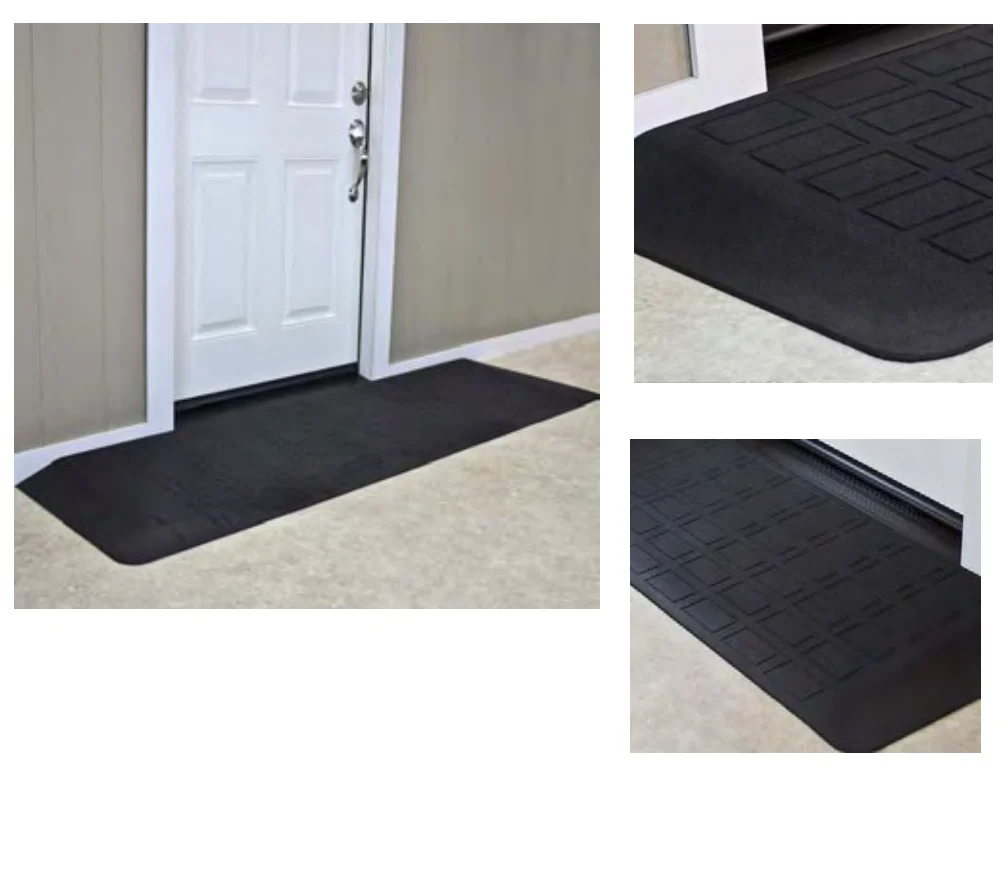
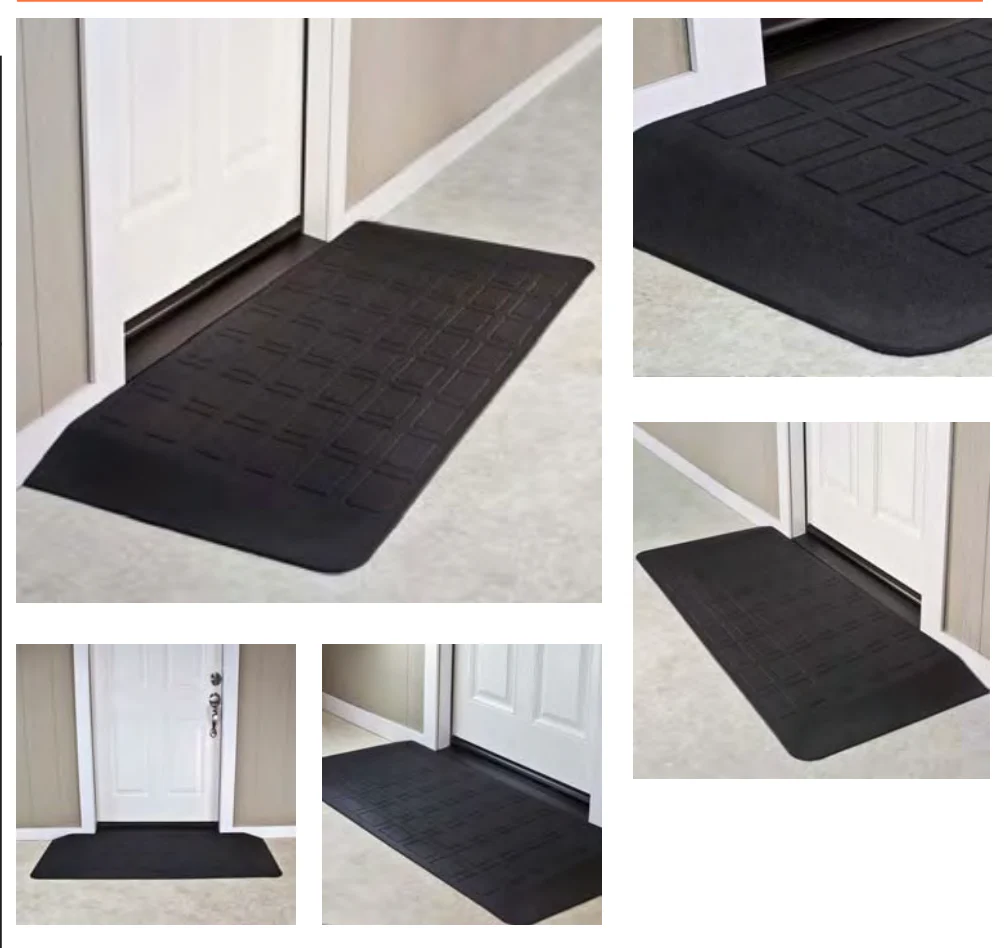











EZEdge™ Transition Wheelchair Ramps
EZEdge™ Transition Wheelchair Ramps
Description
Effortlessly overcome door thresholds and other vertical barriers with EZEdge™ Transition Wheelchair Ramps. Made from 100% recycled rubber, these durable ramps provide a smooth, safe transition for heights ranging from 1/2" to 2 3/4" increments.
With no weight limitations and a quick, hassle-free installation on various surfaces like concrete, wood, and tile, they’re the perfect solution for residential and commercial access needs. Each ramp comes with a 10-year guarantee, ensuring long-lasting performance and maintenance-free use.
*Note: The 10-year warranty only applies for our standard black ramps and not the coated/colored ramps.
Specifications
| Performance Standard | Test Method | Result |
|---|---|---|
| Tensile Elasticity | ASTM D 412 | 630 psi |
| Compression Test | ASTM D 395-82 | 7.84% |
| Hardness (Shore A) | ASTM D 2240 | 65 |
| Water Absorption | ASTM C 1026-84 | 0.75% |
| Density | — | 1.01 g/cm³ |
| Load Weight Limitations | — | None (when properly installed) |
| Static Coefficient of Friction (SCOF) | ASTM C 1028-96 (Dry) | 0.95 |
| ASTM C 1028-96 (Wet) | 0.79 | |
| Additional SCOF Materials | ASTM C 1028-96 (Dry Leather) | 0.79 |
| ASTM C 1028-96 (Wet - 4S Rubber) | 0.82 | |
| Surface Safety Testing | Fixed-Angle Ramp-Walking & Surface Roughness | Exceeded all recognized standards |
Installation Instructions
Important: Ensure the substrate is clean, dry, and free of debris before starting to guarantee maximum adhesion.
Installation Steps
-
Prepare the Surface
- Clean the substrate thoroughly, removing all dust, dirt, and moisture.
- Clean the substrate thoroughly, removing all dust, dirt, and moisture.
-
Position the Ramp
- Dry fit the ramp by placing it flush against the threshold to ensure a proper fit.
- Dry fit the ramp by placing it flush against the threshold to ensure a proper fit.
-
Mark the Placement
- Use painter’s tape to outline the ramp’s position on the substrate.
- Use painter’s tape to outline the ramp’s position on the substrate.
-
Apply Adhesive
- Remove the ramp and generously apply adhesive to the marked area.
-
Recommended adhesive: SikaFlex 1a (for best results, use a caulking gun and spread the adhesive evenly with a notched cement/grout hand trowel).
-
Secure the Ramp
- Place the ramp back onto the adhesive and press it down firmly and evenly.
- Place the ramp back onto the adhesive and press it down firmly and evenly.
-
Final Adjustments
- Apply consistent pressure to ensure full contact. Some adhesive may leak onto the tape.
- Carefully remove the painter’s tape after the ramp is in place.
-
Clean Excess Adhesive
- Wipe away any adhesive residue immediately using acetone or paint thinner.
Temporary Installation (Non-Permanent)
If you prefer not to permanently adhere the ramp, you may use:
- Silicone-based temporary adhesive
- Commercial-grade double-stick tape
Cutting & Trimming Instructions
- Recommended Method: Use a utility knife for the cleanest and safest cuts.
- Optional Method: A variable-speed jigsaw with an aggressive kerfed wood blade can be used for some applications. Cut at a slow speed to avoid overheating and kickback.
Warning: Do NOT use a power circular saw to cut EZEdge™ ramps.
Note: Excess adhesive can stain clothing, shoes, and carpet—clean any spills immediately.
Original: $71.60
-65%$71.60
$25.06Product Information
Product Information
Shipping & Returns
Shipping & Returns
Description
Description
Effortlessly overcome door thresholds and other vertical barriers with EZEdge™ Transition Wheelchair Ramps. Made from 100% recycled rubber, these durable ramps provide a smooth, safe transition for heights ranging from 1/2" to 2 3/4" increments.
With no weight limitations and a quick, hassle-free installation on various surfaces like concrete, wood, and tile, they’re the perfect solution for residential and commercial access needs. Each ramp comes with a 10-year guarantee, ensuring long-lasting performance and maintenance-free use.
*Note: The 10-year warranty only applies for our standard black ramps and not the coated/colored ramps.
Specifications
| Performance Standard | Test Method | Result |
|---|---|---|
| Tensile Elasticity | ASTM D 412 | 630 psi |
| Compression Test | ASTM D 395-82 | 7.84% |
| Hardness (Shore A) | ASTM D 2240 | 65 |
| Water Absorption | ASTM C 1026-84 | 0.75% |
| Density | — | 1.01 g/cm³ |
| Load Weight Limitations | — | None (when properly installed) |
| Static Coefficient of Friction (SCOF) | ASTM C 1028-96 (Dry) | 0.95 |
| ASTM C 1028-96 (Wet) | 0.79 | |
| Additional SCOF Materials | ASTM C 1028-96 (Dry Leather) | 0.79 |
| ASTM C 1028-96 (Wet - 4S Rubber) | 0.82 | |
| Surface Safety Testing | Fixed-Angle Ramp-Walking & Surface Roughness | Exceeded all recognized standards |
Installation Instructions
Important: Ensure the substrate is clean, dry, and free of debris before starting to guarantee maximum adhesion.
Installation Steps
-
Prepare the Surface
- Clean the substrate thoroughly, removing all dust, dirt, and moisture.
- Clean the substrate thoroughly, removing all dust, dirt, and moisture.
-
Position the Ramp
- Dry fit the ramp by placing it flush against the threshold to ensure a proper fit.
- Dry fit the ramp by placing it flush against the threshold to ensure a proper fit.
-
Mark the Placement
- Use painter’s tape to outline the ramp’s position on the substrate.
- Use painter’s tape to outline the ramp’s position on the substrate.
-
Apply Adhesive
- Remove the ramp and generously apply adhesive to the marked area.
-
Recommended adhesive: SikaFlex 1a (for best results, use a caulking gun and spread the adhesive evenly with a notched cement/grout hand trowel).
-
Secure the Ramp
- Place the ramp back onto the adhesive and press it down firmly and evenly.
- Place the ramp back onto the adhesive and press it down firmly and evenly.
-
Final Adjustments
- Apply consistent pressure to ensure full contact. Some adhesive may leak onto the tape.
- Carefully remove the painter’s tape after the ramp is in place.
-
Clean Excess Adhesive
- Wipe away any adhesive residue immediately using acetone or paint thinner.
Temporary Installation (Non-Permanent)
If you prefer not to permanently adhere the ramp, you may use:
- Silicone-based temporary adhesive
- Commercial-grade double-stick tape
Cutting & Trimming Instructions
- Recommended Method: Use a utility knife for the cleanest and safest cuts.
- Optional Method: A variable-speed jigsaw with an aggressive kerfed wood blade can be used for some applications. Cut at a slow speed to avoid overheating and kickback.
Warning: Do NOT use a power circular saw to cut EZEdge™ ramps.
Note: Excess adhesive can stain clothing, shoes, and carpet—clean any spills immediately.